


 )
)
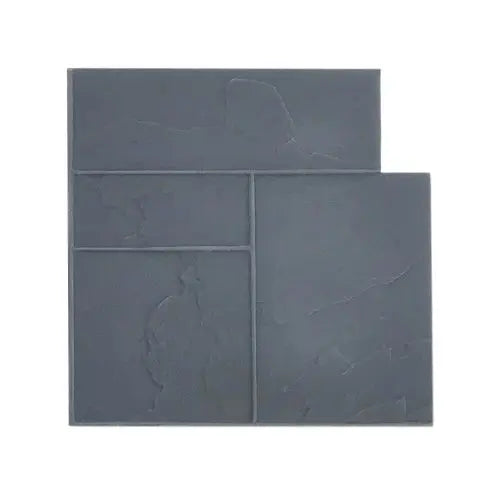
Overview on Stamped Concrete Process
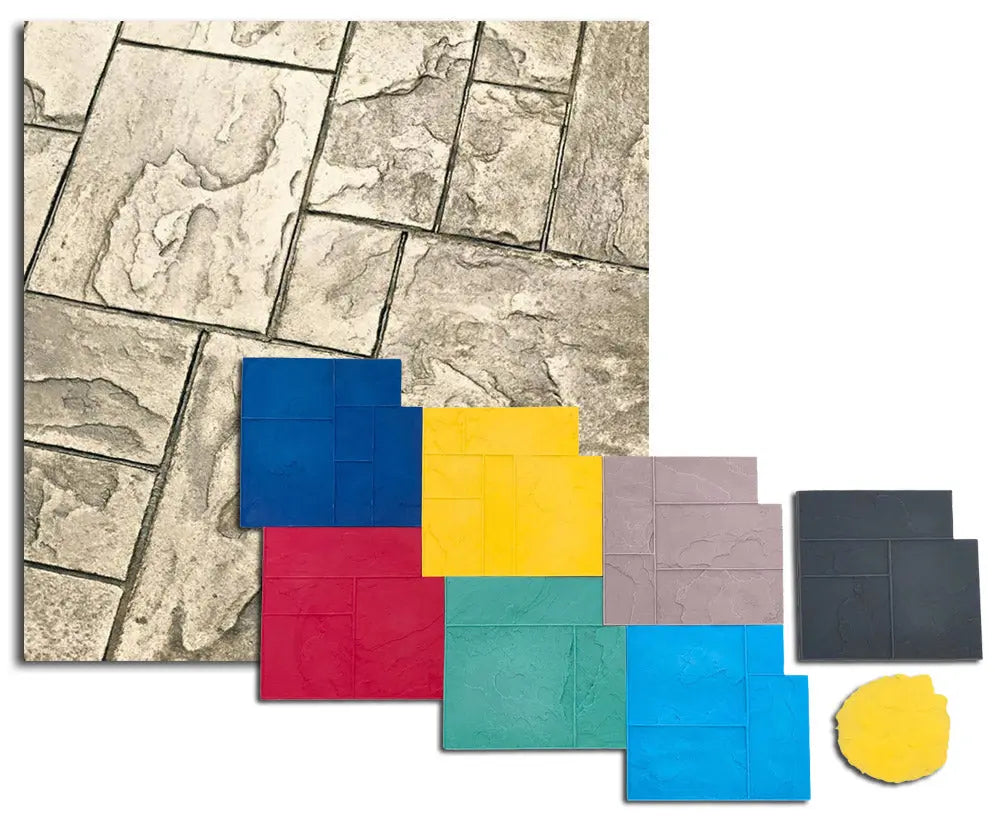
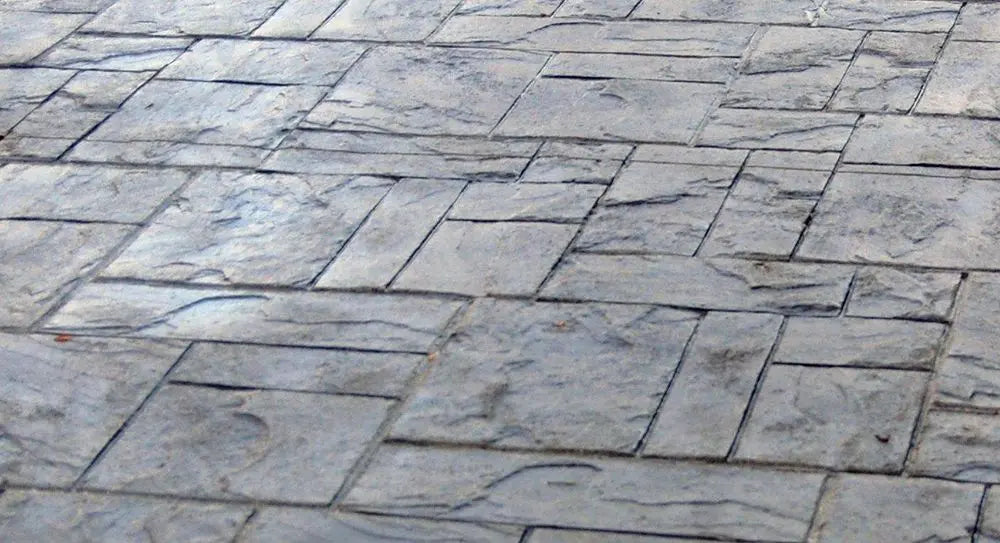
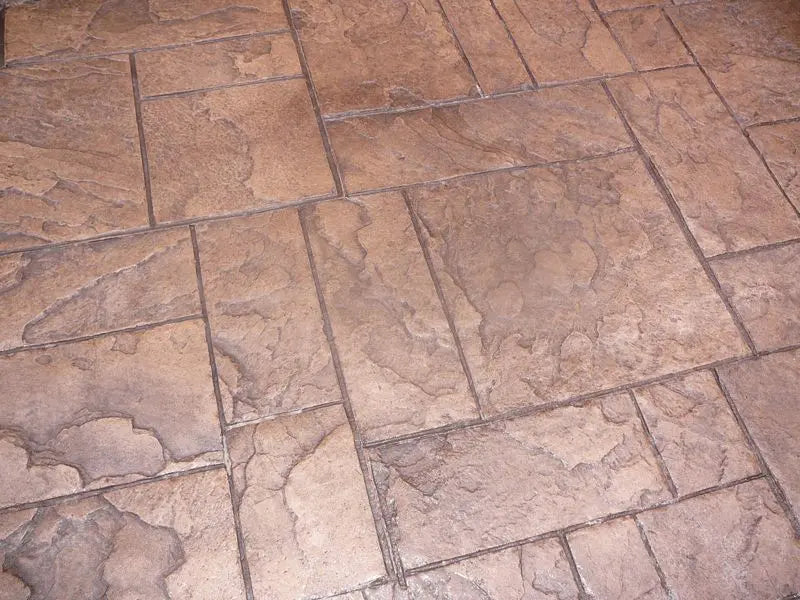
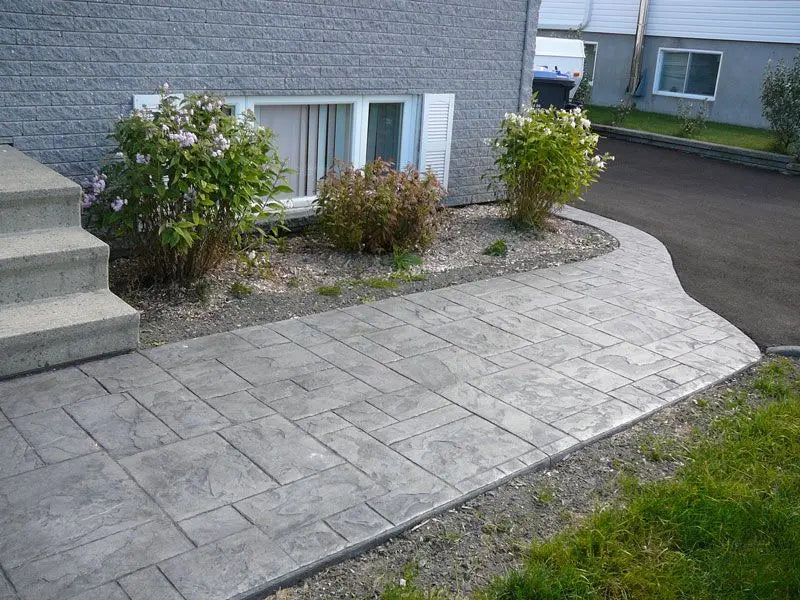
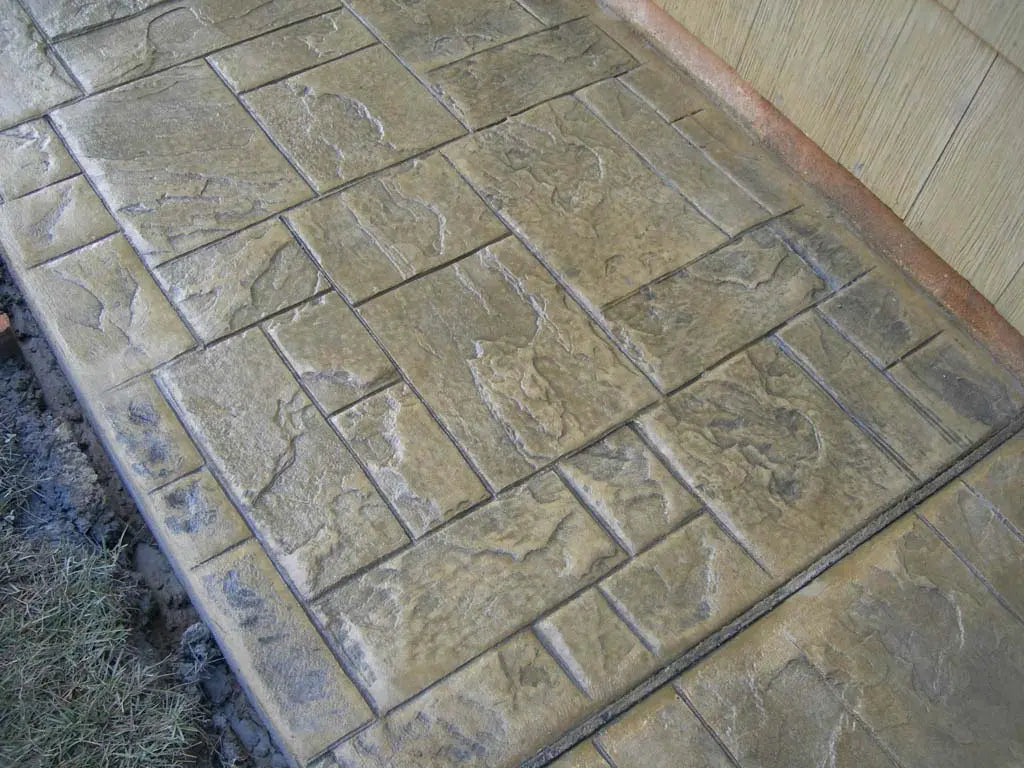
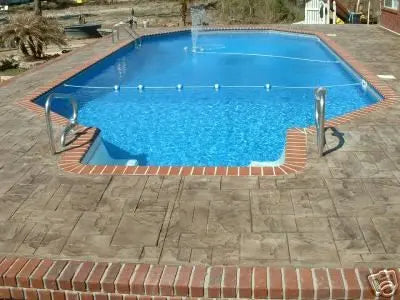
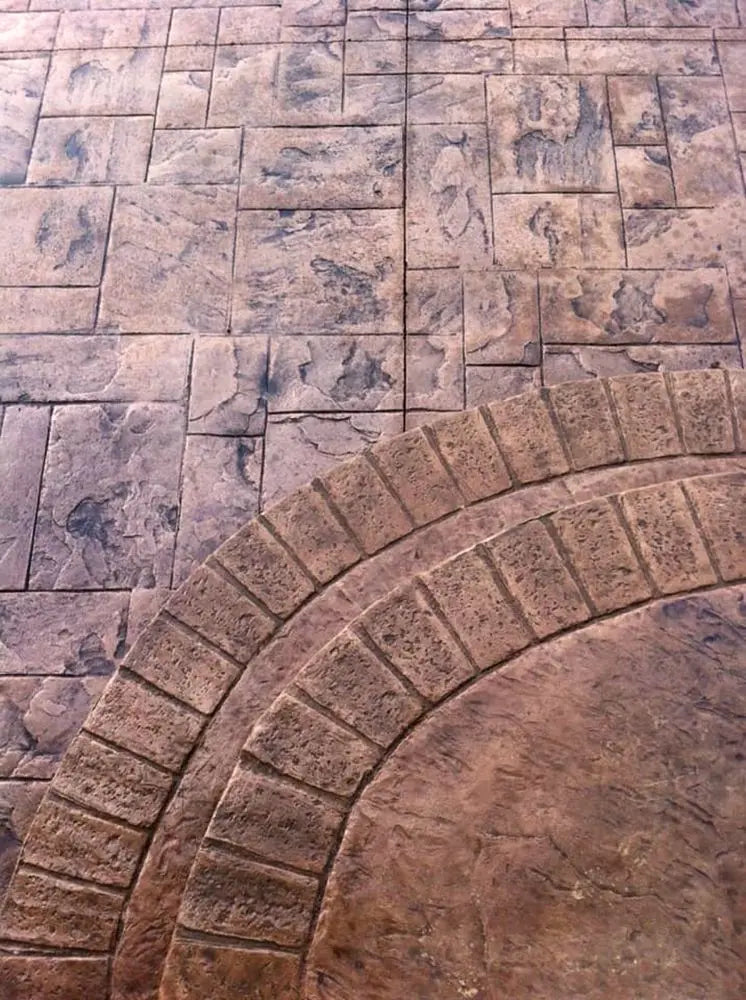
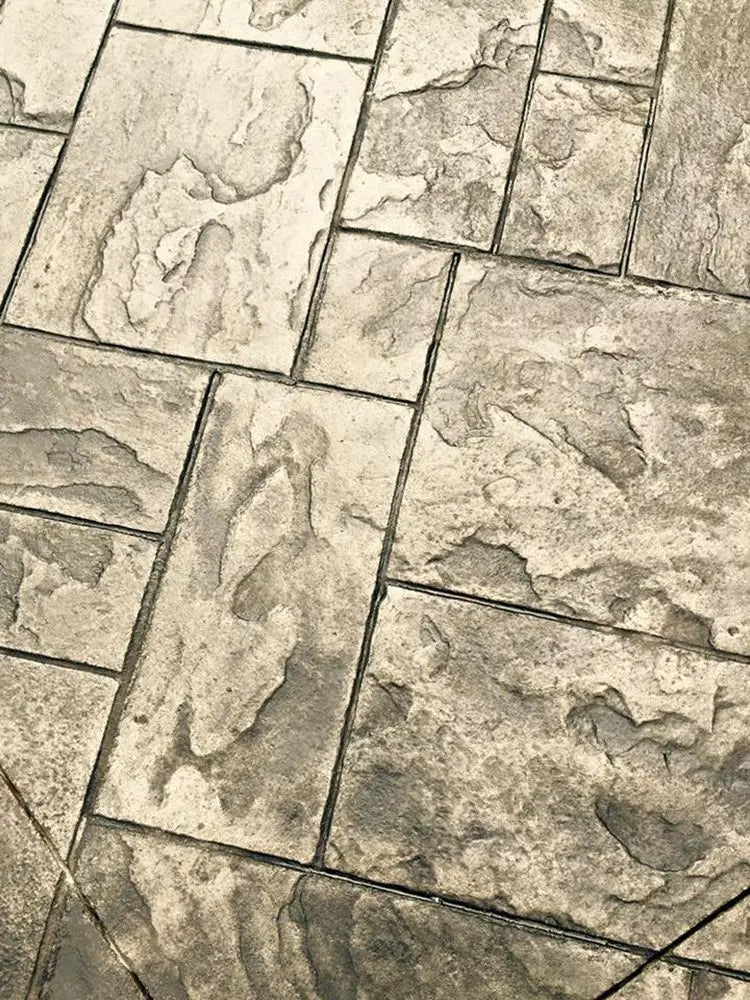
Why stamped concrete? Stamped decorative concrete is an attractive and economical alternative to natural pavers or just plain poured concrete. A stamped concrete patio can give you the look and texture of a stone patio for a lot less money than the real thing; sometimes less than half the cost of the natural material alternatives such as slate

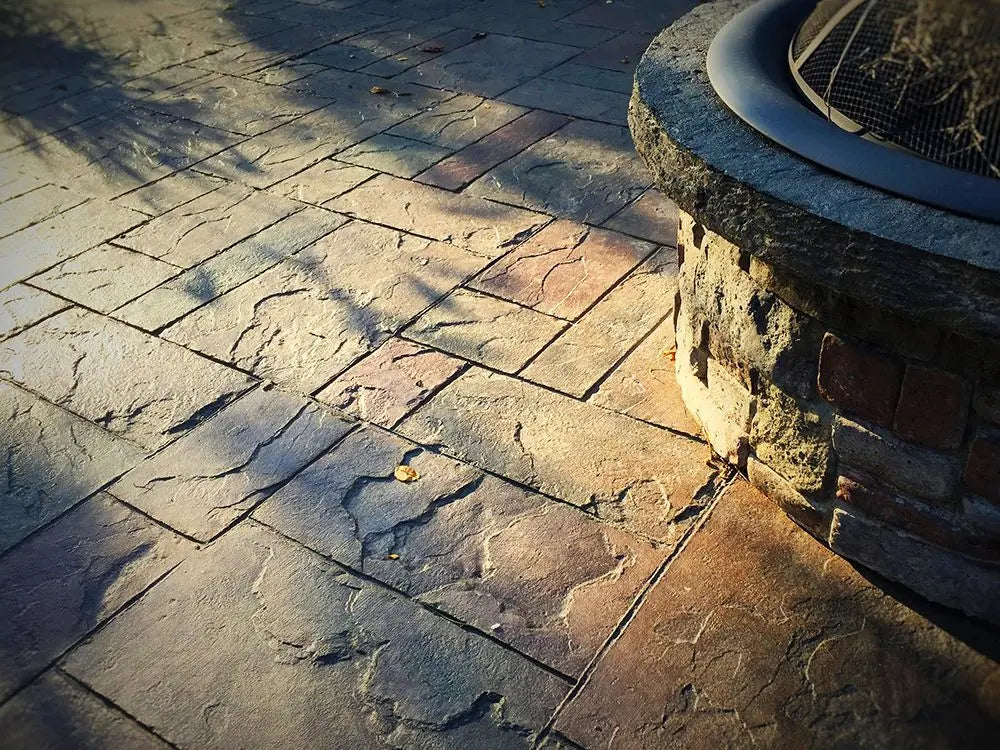
Stamped concrete can mimic brick, cobblestones, weathered wood and even a seashell-laden beach. Add in some fun borders, footprints, or even fallen leaves, and you are creating surfaces that you simply cannot get with natural materials. Another major advantage to a stamped concrete patio is its general low maintenance. The pavers or stones won’t settle over time, which would allow sprouting plant growth in between material and create uneven surfaces.
This is merely an overview, not a detailed process. Unfortunately all the ins and outs of this process cannot be covered in a brief outline (or video) as it takes years of hands on experience to become predictably proficient at decorative concrete work. This is NOT a DIY undertaking. Stamped concrete needs to be left to the professionals. Concrete as a material is not very expensive BUT, concrete, especially decorative concrete, is very expensive in terms of time and materials. Unlike many processes you can do on intervals, concrete is not one of them. You cannot come back to finish is the next day if you get tired or frustrated. A concrete slab does not come apart easily so essentially there are no do-overs. This guideline then assumes the user is proficient in the process of planning, grading, forming, pouring and placing concrete, all of which are equally important to success. The most stunning concrete stamping job is no good if created on a faulty poured slab. Conversely, the best placed and poured slab but finished with a mediocre stamp job is highly unacceptable. That being said, if you are still game, please read on.
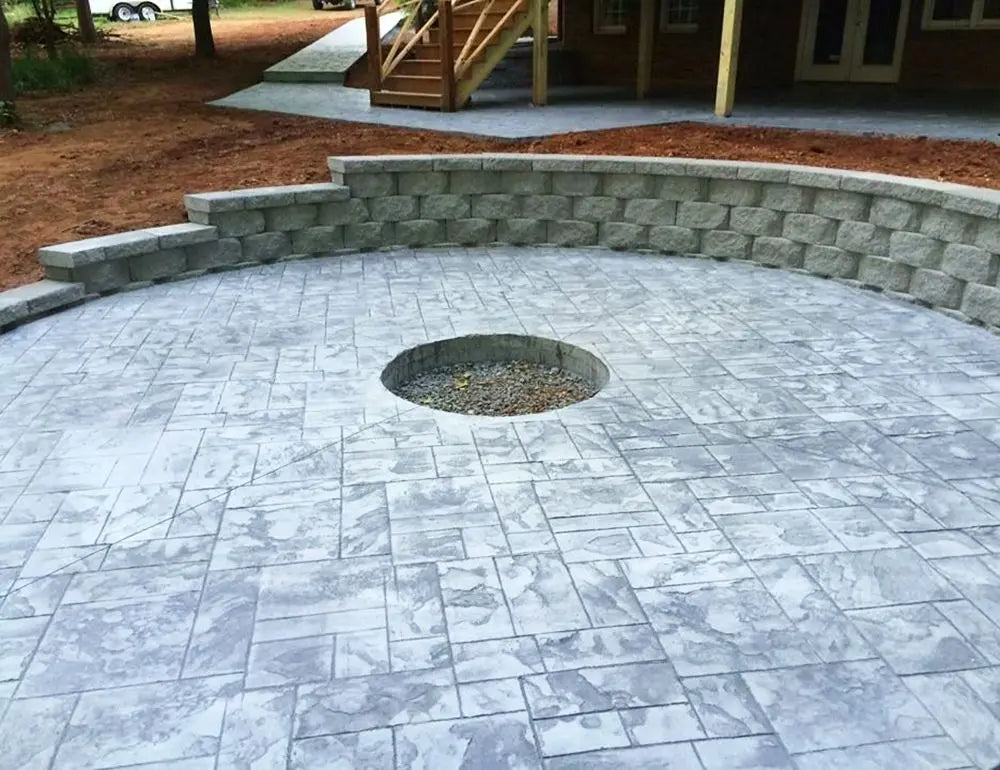
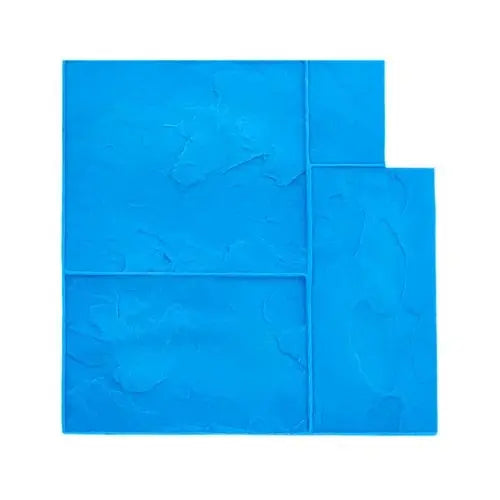
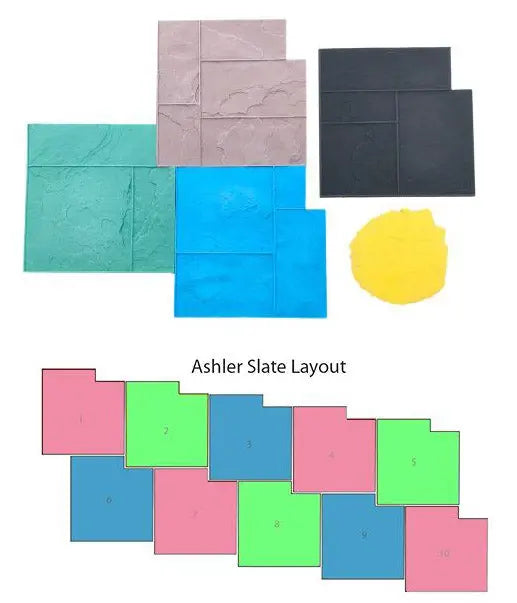
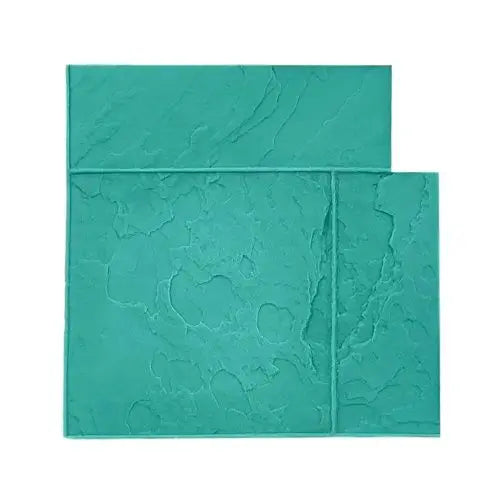
- Planning: Choose a color and texture of concrete that complements the natural surroundings and adjacent structures. Special consideration should be given to the orientation of grout lines, particularly in repetitive patterns such as running bond, brick, or cobblestone. Generally, the area should be stamped so that long lines of the pattern run perpendicular to the length of the project. This will help reduce straight-line errors and provide a more pleasant and aesthetic overall appearance. Typically, concrete stamps texture patterns run in straight lines, even when walks or drives are curved so that must be taken into consideration. Always perform a trial run, placing mats in the area prior to the pour. The crew should know ahead of time where the first mat will be placed, as well as aware of areas where a standard mat won't fit, and in what direction stamping will proceed. Make sure you know how many decorative concrete mats you are going to need. The rule of thumb is to have enough mats on hand to span the width of your pour and have and additional one or two mats to start another row. If you have too few, you are going to make everyone’s life much harder when stamping. Always plan accordingly to ensure best results.
- Placing the Concrete: Follow normal procedures with a subgrade, and with concrete base that meets the planned specifications and local requirements for mix, depth and reinforcement. A normal or retarded-set of water-reducing admixture can be used, but admixtures should not contain Calcium Chloride. Non-chloride accelerators and air-retaining admixtures can still be used. Refer to the admixture manufacturer for recommendations on the type and amount of admixture to use. (Please note: Some admixtures may affect color.) The concrete generally should be no less than four inches in thickness.
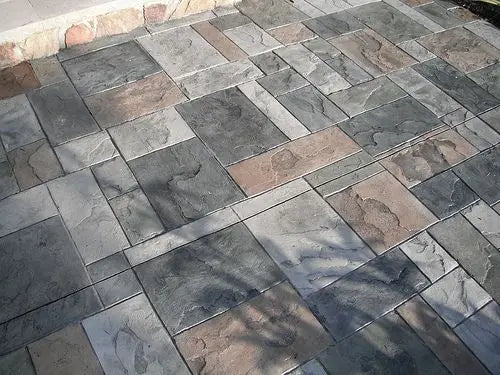
- Color Options: There are two basic techniques for coloring the concrete at the time of the pour. (Coloring post pour is touched on later)
Integral Color: Liquid Color or powder color is placed into the ready mix truck. This procedure combines the color with the mix prior to the pour and the slab is colored throughout. This will give you a monochromatic base color for the slab. With this option, water content of the mix is very crucial for consistent results if you have a larger job and are dealing with more than one truck. More water dilutes the color so that should be avoided at all costs.
Broadcast Method: The product used here is called Dust on color hardener and provides more user control than integral color, though involves critical labor. Apply color hardener powder directly to the freshly poured concrete surface. Color hardener will penetrate the top of the concrete slab 1/8" and color thoroughly. This often results in a more mottled effect and you may combine more than one color. After initial floating and all excess bleed water has been absorbed, apply broadcast color hardener using a low, wide sweeping arm movement with the intention of covering as much concrete as possible with each throw. You will want to broadcast starting in the middle to prevent excess buildup at the edges with each pass. Allow the hardener absorb water for several minutes until it has moistened sufficiently (color will darken) before working the color in with a wood or magnesium float. One or two passes with the float should be sufficient; do not overwork the concrete. If necessary, repeat this process in areas where natural concrete color is showing through. When you are satisfied with the color, finish with a fresno or hand float to remove any remaining lines.
- When to Stamp? Before you apply your release agent (see 5) and begin stamping, you have to check to see that the concrete is ready for the frantic action that is about to begin. We call this state the plastic If you start too soon, the concrete won't be firm enough to support the weight of workers, the stamps will slide, and the concrete is just too sticky. If you start stamping too late, stamping will require much more effort and you will be producing no texture with the tools by the end of the job. To determine if you are at the right plastic state you will press your fingers into the concrete surface at several locations. Your finger should come up clean at about a ¼ inch depression. Additionally you should place a stamp on the concrete and step on it. The stamp should not sink too deeply or slide around.
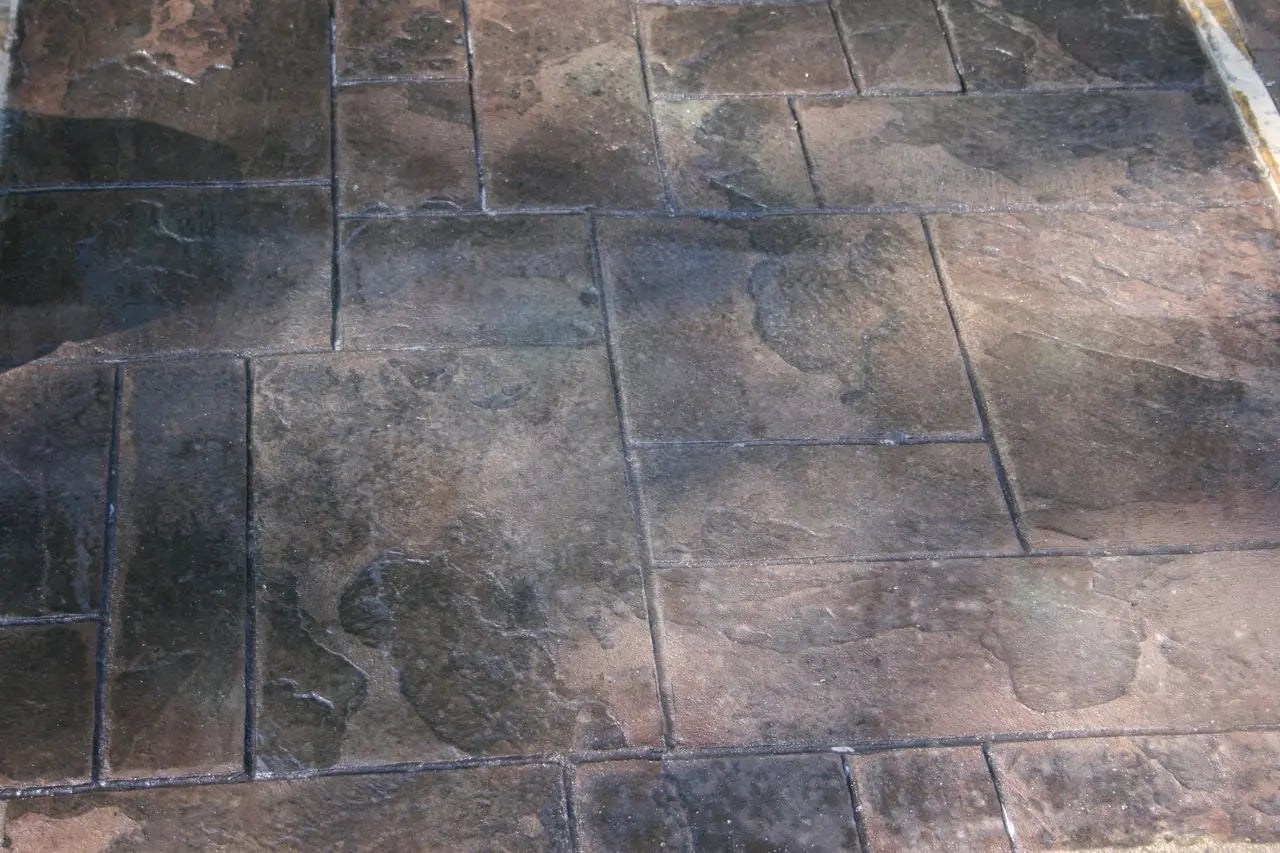
- Applying release agent: Decorative concrete stamps will not work without the use of a release agent. Apply either the accent color release powder or liquid release agent. Liquid release is simply a clear liquid applied by pump up sprayer used for applying an even coat until the concrete surface “glistens”. Spraying a coat onto the mats is also recommended. Accent release powder is specially formulated to prevent mats from sticking, and it adds some accent color by broadcasting by hand. Generally 3.5 lbs. of material is required per 100 square feet. It should be brushed onto the mats and broadcast across the surface of the concrete. This broadcasting is usually done by filling a 6” horsehair brush and flinging onto the slab. There should be a uniform layer of release between the concrete and the texture mats; thick enough to prevent damp concrete from bleeding through to the mat, yet thin enough so as not to diminish the texture detail. NOTE: Choose a color of release agent to complement the color of the concrete. A release agent with a darker tone than the slab coloring agent will provide depth and shadowing in the finished concrete. Most of the release agent (if using powder) will be removed when the finished project is washed. The primary concrete color will dominate and approximately 10% of the release agent will adhere to the surface of the concrete providing for the contrast.
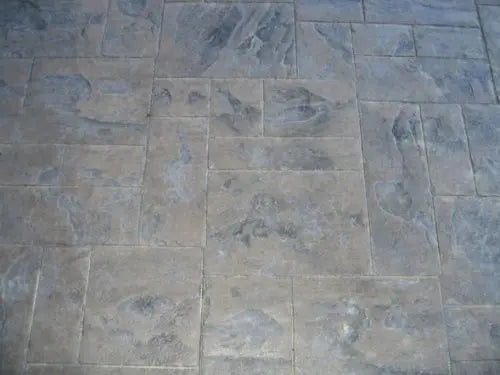
- Stamping the Surface: At the optimum time for texturing, great force is not necessary to press the concrete stamp into the concrete. Timing is critical so work should proceed without delay once texturing begins.
Make sure you have adequate manpower for the process. Below is an outline of the workload as suggested for a basic project pour using three to four people. More experienced crews may be able to color and stamp as much as 1000 square feet per pour, but it is recommended to begin with smaller areas. This process can be adapted to fit specific project needs.
Worker 1: Fluffs the Accent release agent throughout the application process. Broadcasts release agent. Identifies areas that require touch up work. Acts as a general helper.
Worker 2: Places the concrete mats. The first mat should be carefully aligned, placed and tamped in at the starting point of the project. Repeat the process by placing the second mat next to the first. Place mats tightly together to avoid messy grout line patterns. It is critical to maintain a straight line as this first row is what the rest of the slab is based on. You can use a string line as a guide, especially for aligning stamp patterns that are square or rectangular. For notched or irregular stamp patterns, you can check alignment by using the edge form as a reference point (assuming that it's square) and checking with a tape measure. Continue with mats on hand, leapfrogging the mats as they are removed and replaced in the concrete. When reaching the edge of the slab and the last concrete stamp is going to hang off the edge, be sure to use the floppy mat because it is softer and will crush around the edge form and still imprint the concrete. Pre-texturing the perimeter of the slab will also help keep the edges consistent.
Workers 2/3: Tamps the mats as they are placed. Mats should be tamped straight down into the concrete using no more force than necessary with a quality 15-20 lb concrete stamp tamper to press the mat flush to the concrete. Do not over tamp!
Workers 3/4: Carefully removes the tamped mats by lifting gradually from one side first to break the suction. Passes mats to Worker 1 for preparation of next placement.
All Workers: Look for missed areas and weak grout lines. With powder release weak areas are easy to spot since the release still looks fluffy and not tamped down. Use a touch-up skin to make those corrections. Missed areas can be touched up using small texture skins that match your pattern. Grout lines should be corrected as you go with either a grout roller or hand grout tool.
Note: Many crews like to pre-texture the edges of the slab with either a matching texture skin or texture roller. This can really be beneficial as the slab continues to cure and gets harder to stamp.
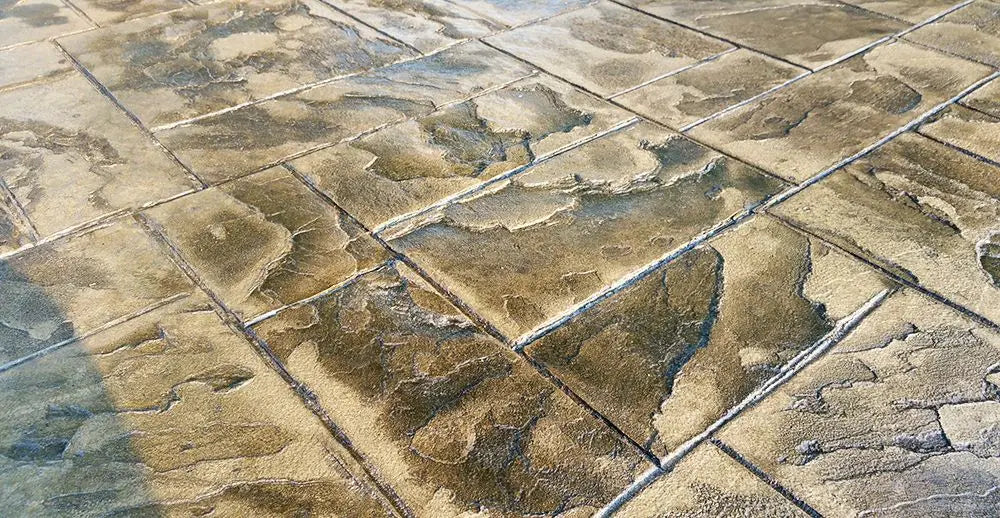
- Cleaning your stamped surface: Approximately 1-3 days later depending on weather conditions, you will need to remove the excess powder release agent if you went that route. Use a water hose and broom or low power pressure washer (1200 PSI is recommended) to carefully remove excess release agent from the surface of the concrete. Be careful to not place a pressure washer wand to close to the surface of the concrete or “streaking” can result. If broom cleaning you will need to gage the amount of scrubbing pressure to use to achieve adequate removal. The idea is to keep more release color in the grout lines and deeper indentations. This will result in a more natural, aged and shadowed effect.
- Cutting joints: Cutting control at the proper depth and spacing after cleaning (or next day if not cleaning) will help relieve stress on the slab thus preventing random cracks that are common. Some contractors prefer to cut joints with a groover before stamping but saw cutting afterwards with a good quality diamond blade usually provides less noticeable lines. Hose off residue. TIP – You may consider cutting your joints before cleaning your release agent so as to only have to hose down one time.
- Optional coloring: You may have decided early on that you wanted to color your surface either wholly or as accents on your project. If so, this is the time for that. Post pour coloring options may include either acid stain or simpler, water-base stains. Even if just to accent a border that may have been put in, this is the ideal way to do so. The “how to” for those products are available on the stain product pages so we will not get into it here (except to say either can really put a fantastic look on the whole project.)
- Sealing your surface: Once clean and dry you should protect with a temporary curing compound or a professional quality decorative cure and seal sealer. This will provide good color enhancement, satin to high gloss finish and protection from the elements. Sealers are applied by either solvent resistant sealer or rough nap roller. In either case you want to avoid puddles and thick areas as sealers cure and perform best when applied in thin coats. Two coats may be needed to get a more even gloss across such an irregular textured surface. If you opted for the temporary cure and seal, be sure to follow up with your final sealer according to the manufacturer's instructions.
There you have it (in a nutshell.) Again, it takes time to gain experience in handling the basics of concrete through various and unpredictable conditions, and even more time to gain equivalent experience with the art of stamping. This by no means is meant to be used as an official step by step guide, but rather as a general overview to this fantastic process of decorative concrete.