Concrete Countertop Round Cantilever Front Sink Form SDP-4C
Style:SDP-4C (Cantilever Sink Form Only)
Quantity:
Fast Ship: Usually takes 1-2 business days to ship out.
Ships from Utah (Click for average Ground delivery map )
)
 Ships via FedEx/UPS only
Ships from Utah (Click for average Ground delivery map
 )
)
 Ships via FedEx/UPS only
Concrete Countertop Round Cantilever Front Sink Form SDP-4C
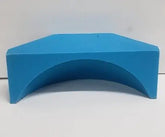
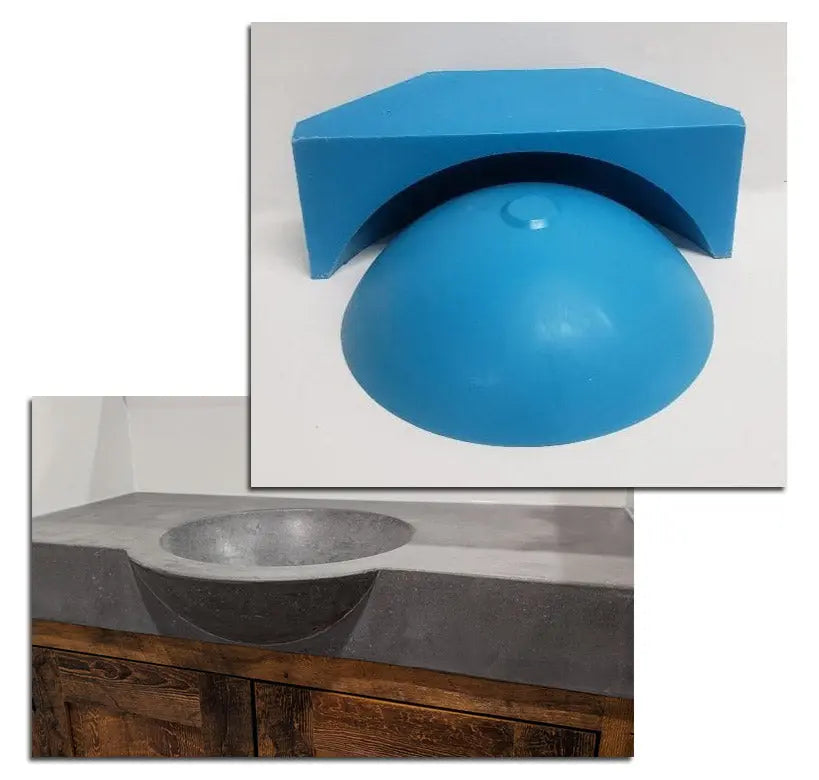
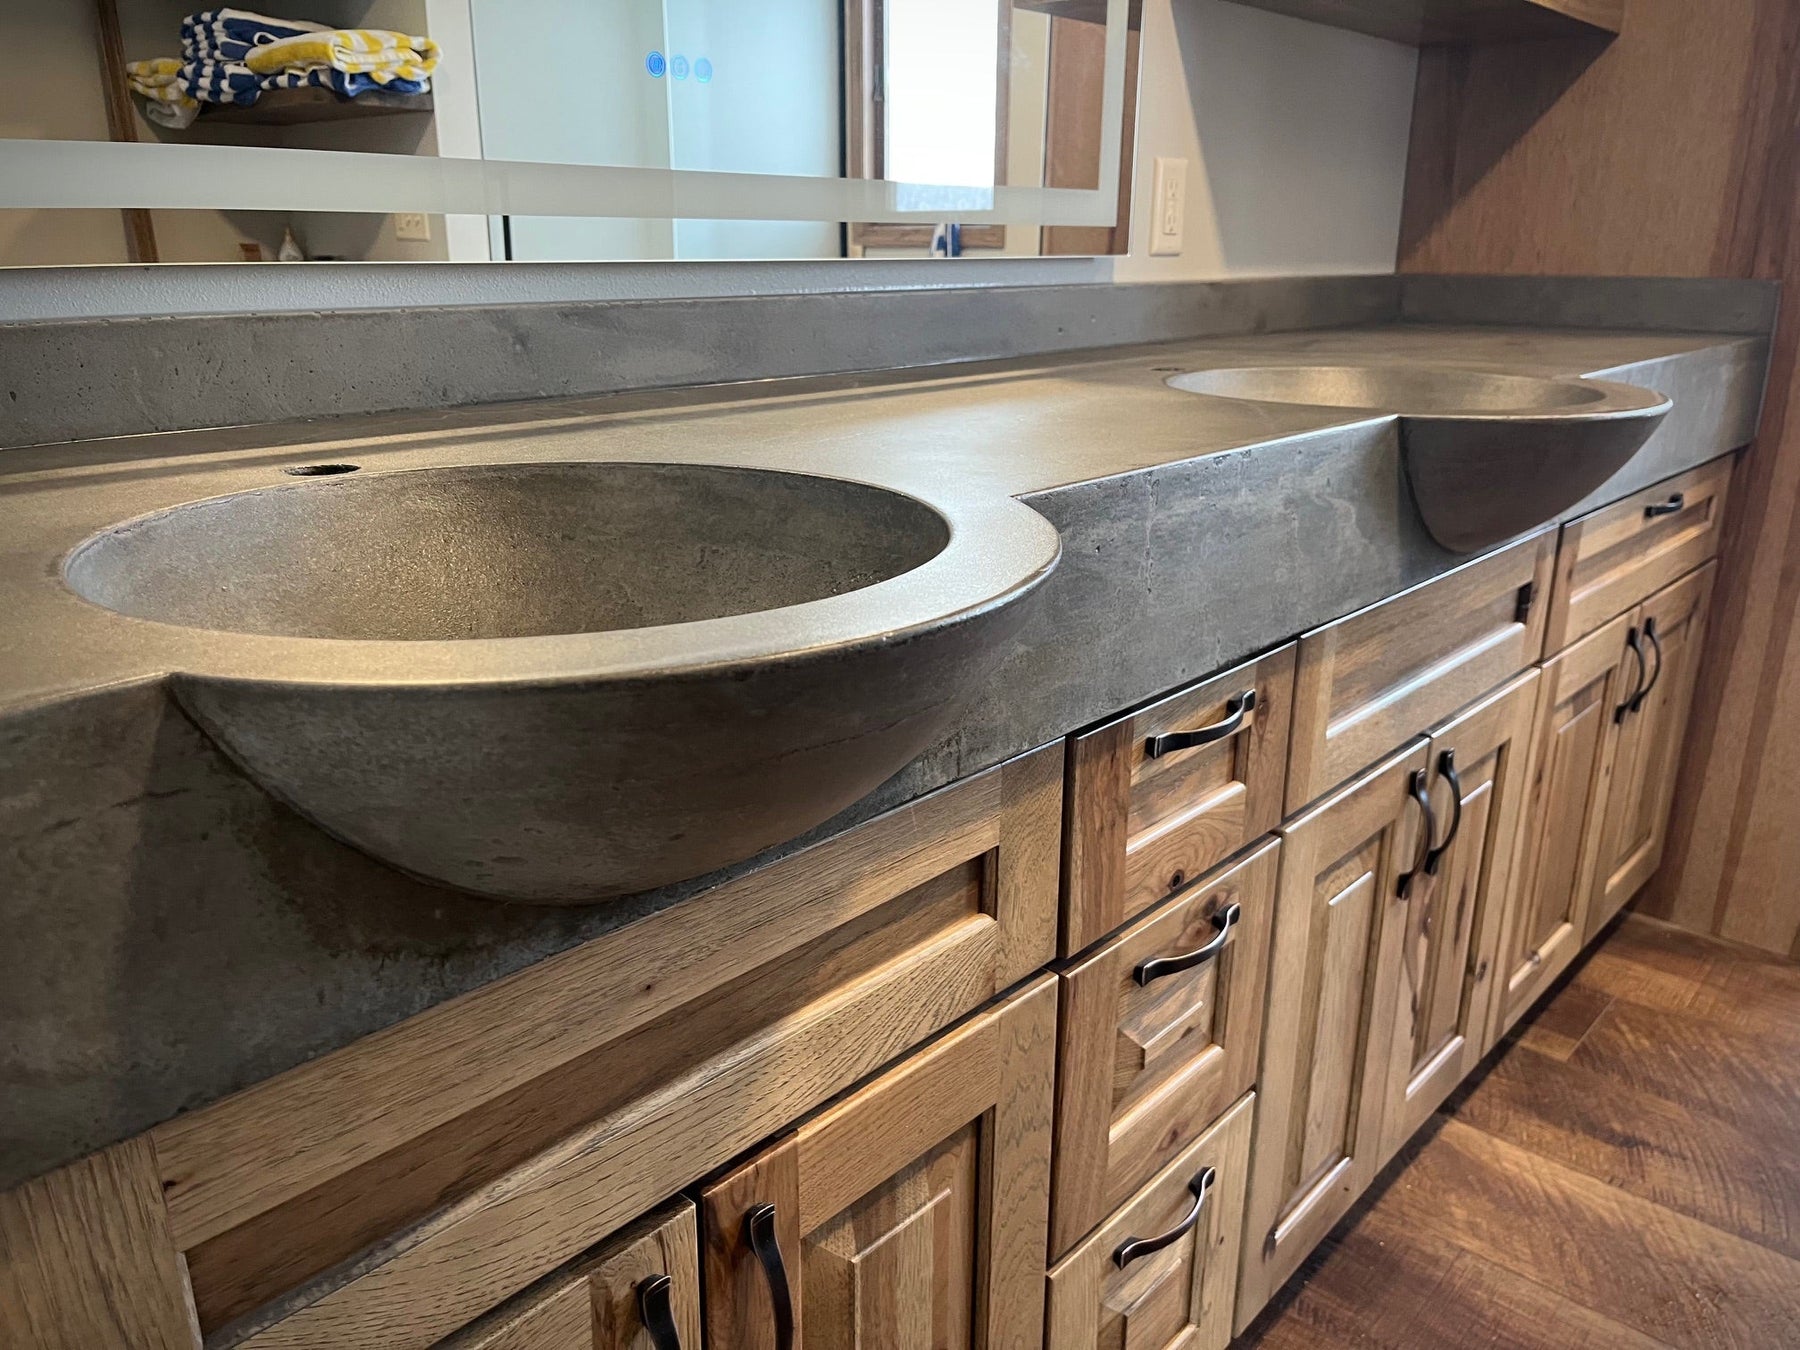
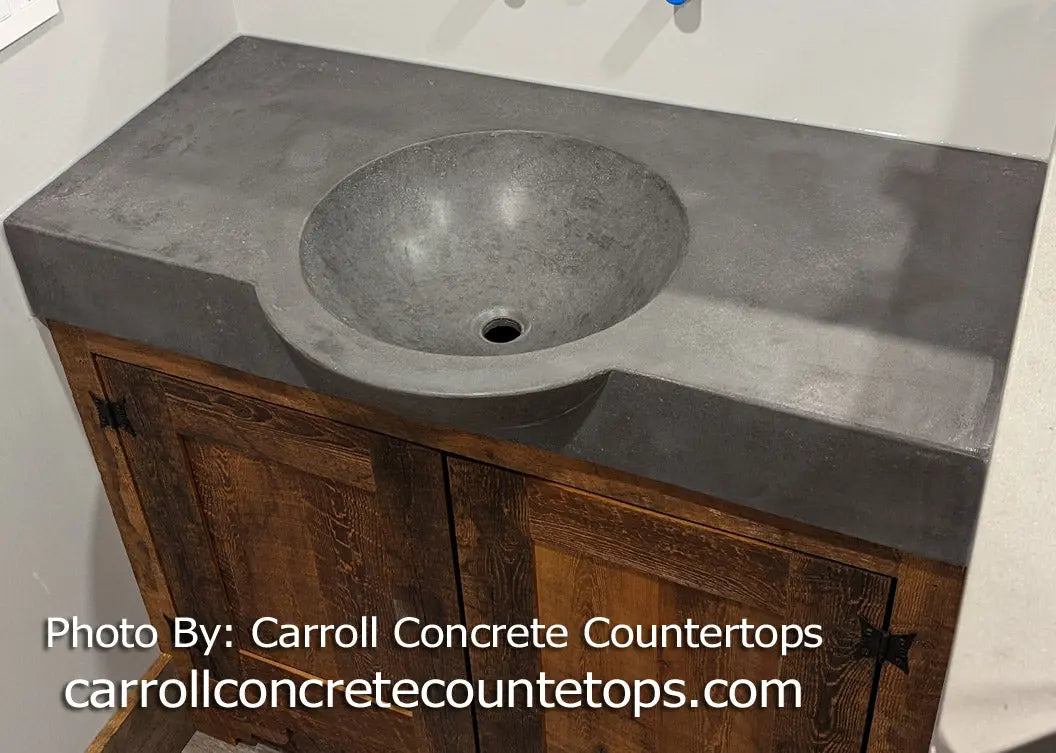
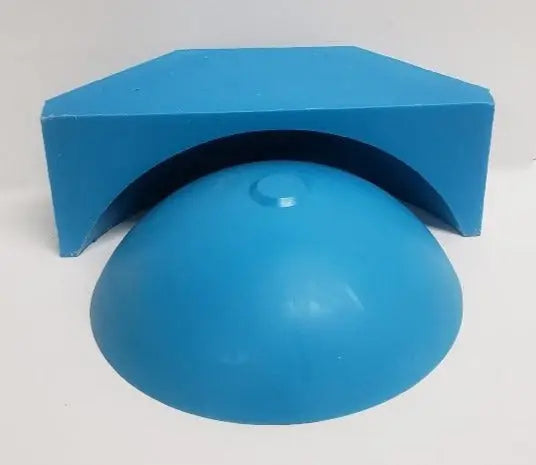
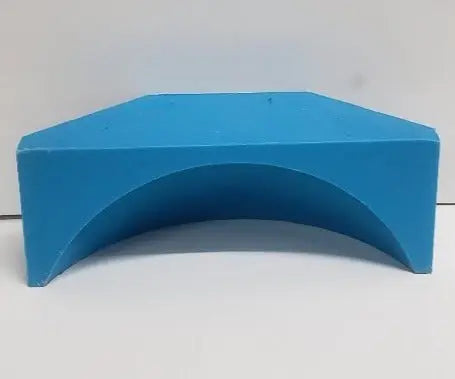
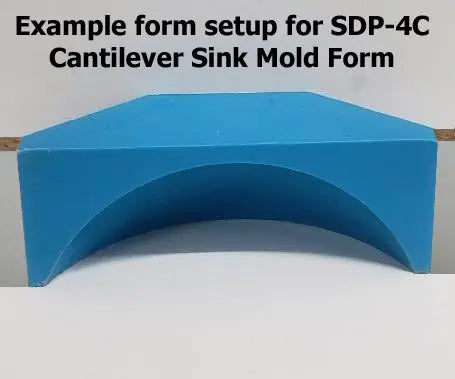
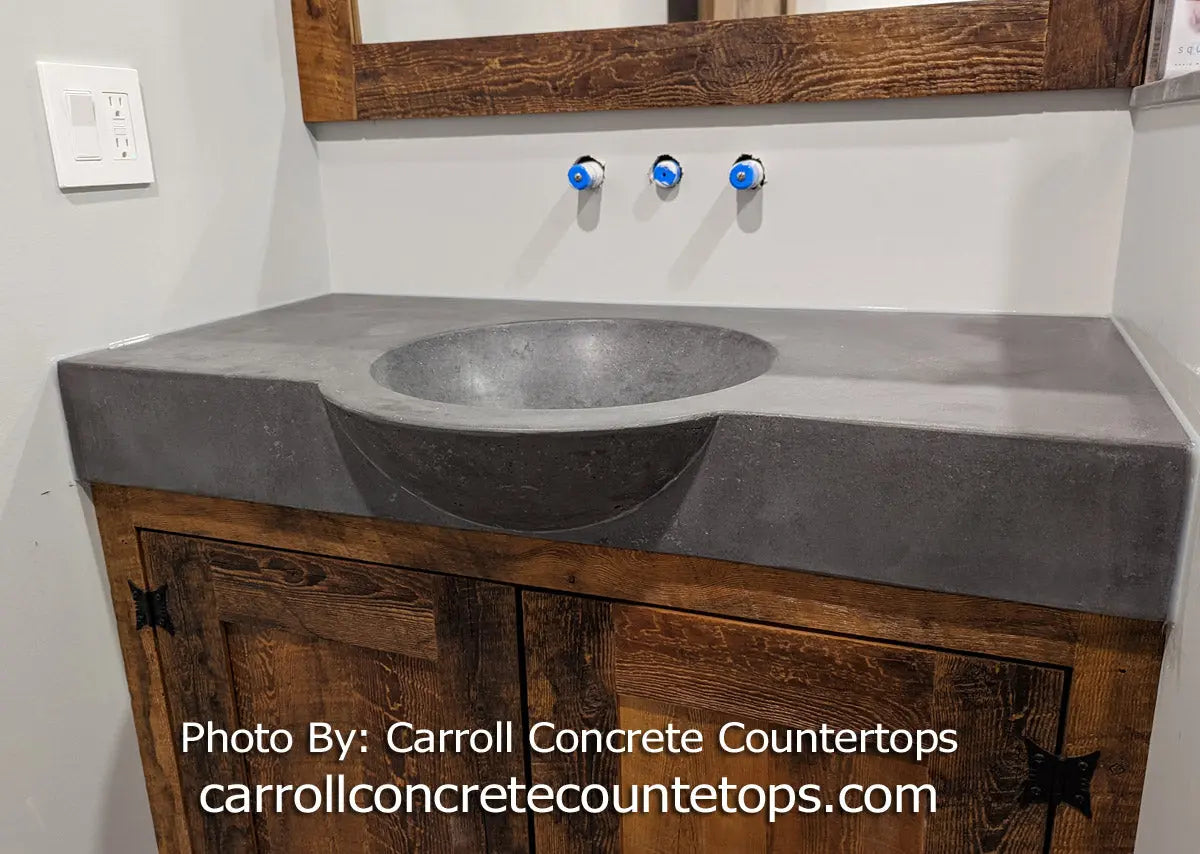
- Our simple to use sink form to create a protruding concrete round sink shape that sticks out of the countertop, and is shaped in the dome of the inside sink.
- This Cantilever Sink Form is designed to be used with our SDP-4 Bowl Sink Mold (sold here separately, or can be bought with this form as the 'kit'.
- Our SDP (Super Durable Polyurethane) Line of Sink Molds are made from the highest grade Polyurethane Rubber. Won't chip and crack like fiberglass, and much easier to get out of concrete after casting. A lifetime of reusability.
- Each Sink Mold comes with a reusable rubber drain plug 1.5" tall and tapered from 1-5/8"to 1-7/8".(you will want to secure this plug with silicone to your sink mold before use, small side should ideally be stuck to the sink mold).
- Please note: some metal drain hardware is a larger diameter than 1-5/8" please be sure to check the drain you're going to use for clearance and if you need a larger diameter hole in the concrete then you may consider using something else like a piece of foam to create plug hole.
Specificaitons- Concrete Countertop Round Cantilever Front Sink Form SDP-4C:
- SDP-4C Cantilever Bowl Sink Form Measurements:
- Diameter across dome: 17"
- Protrusion amount (from the front of your finished concrete countertop, the concrete will stick out @ 5"
- Depth/height: 5.5"
- When spaced properly, this form will create a 1.5" concrete thickness shaped to the inside sink when using our SDP-4 Bowl Sink Mold, and will stick out @ 5-" from the countertop. If you want less of the sink protruding out from the countertop, you can cut the rubber mold down (but cutting a thick piece of rubber like this takes time and you'll need to so some sanding to get a flat smooth surface again, or place a scribed piece of thin plexiglass across the whole font of your form to remove any seams and imperfactions!)
Mold Use
- Watch videos of Mold Setup, Casting, and De-Molding/Removal on our YouTube Video Page.
- A basic Sink Mold Instruction sheet is available here.
Mold Setup
- Apply 3-5 coats of a Mold Release Wax to the molds, lightly buffing between coats once it hazes.
- Place the SDP-4 Round Bowl sink mold in your form. Apply small amounts of silicone to the Mold's bottom, and set in place in your form. Allow silicone to dry.
- Run a smooth silicone bead around perimeter of the Sink Mold, where it meets the form base (using a tool such as our Caulking Ball Tool makes this process very clean and easy).
- Measure 1.5" from the front lip and place the SDP-4C Cantilever form on that mark. Apply a thin, even coat of silicone to the bottom of the SDP-4C Cantilever form, and then set in final position. Due to the tight area, you won't be able to get a tool or finger in to smooth a silicone caulked radius, so that's why it's important you have a thin even layer of silicone on the form first, so you don't have water leak out of the form while casting. Alternatively, you may place the SDP-4C Cantilever form FIRST, so you can reach in and caulk a smooth silicone bead around it. But then when you set the SDP-4 Round Bowl mold into your form, you won't be able to smooth a silicone bead around the front portion of the mold that will be inside the Cantilever form.
- Finish forming your countertop form, butting up to the sides of the rubber SDP-4C Cantilever form, and seam as appropriate to make a flush seamless form.
- Apply a thin coat of Rubber Safe Form Release to the Molds just prior to casting the concrete piece.
Concrete Casting:
- Various methods can be used to cast the concrete piece. View our Concrete Recipe section for tips on concrete mixes.
- GFRC: Cement and fiberglass is sprayed on and hand packed into the form and around the Mold.
- Wetcast: Oatmeal consistency concrete is placed in form and around the Mold and vibrated. A simple box should be built around the Sink Mold, to contain the concrete during this process.
- Hand Packed: A drier concrete mix is hand packed into the form and around the Mold. A second step after de-molding will fill the voids with cement slurry, usually of a different coloring.
- Any voids in the finished concrete can be filled using a Cement Slurry.
- Mix your own slurry by mixing Portland cement, Cenospheres, and water (or water/Polymer mix).
Mold Removal:
- If the steps above were followed for the Mold Setup, then most Molds will usually pull out of the concrete with little effort.
- If the mold is difficult to remove, try:
- Compressed air shot around the Mold rim will break the suction holding the Mold in the concrete.
- Most Molds can be pushed out of the concrete by removing the drain piece, and pushing the Mold out through the drain slot.
Mold Clean-up and Care:
- Clean Mold with a sponge after each use. Any dried cement residue can be removed with a scotch-brite pad (as outlined above in the Mold Setup section. A light muriatic acid wash (20:1, 20 parts water to 1 part muriatic acid) can also remove cement scale.
- Waxing and buffing the Concrete Countertop Round Cantilever Front Sink Form after cleaning it use is recommended to protect the Mold until its next use.


