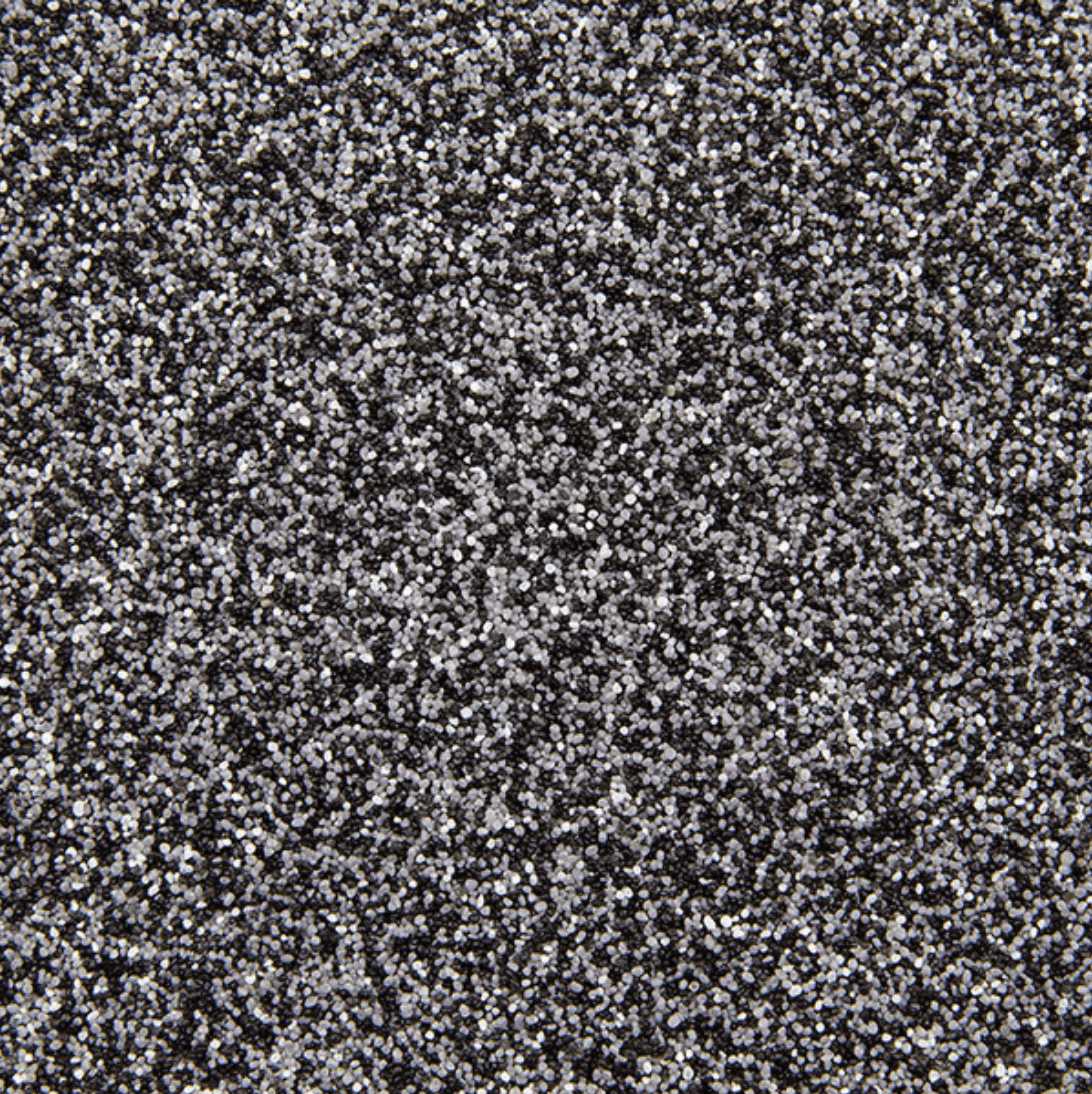
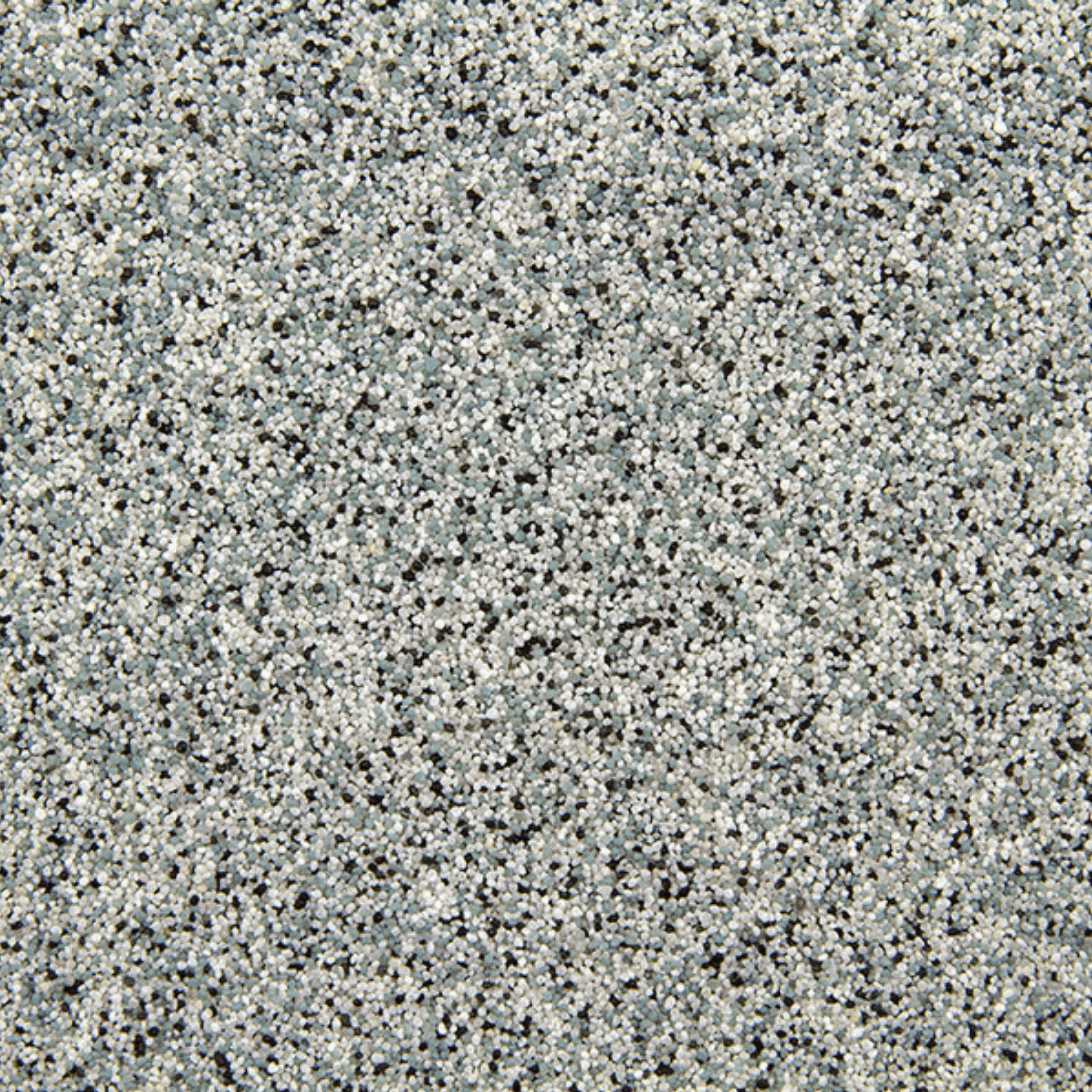

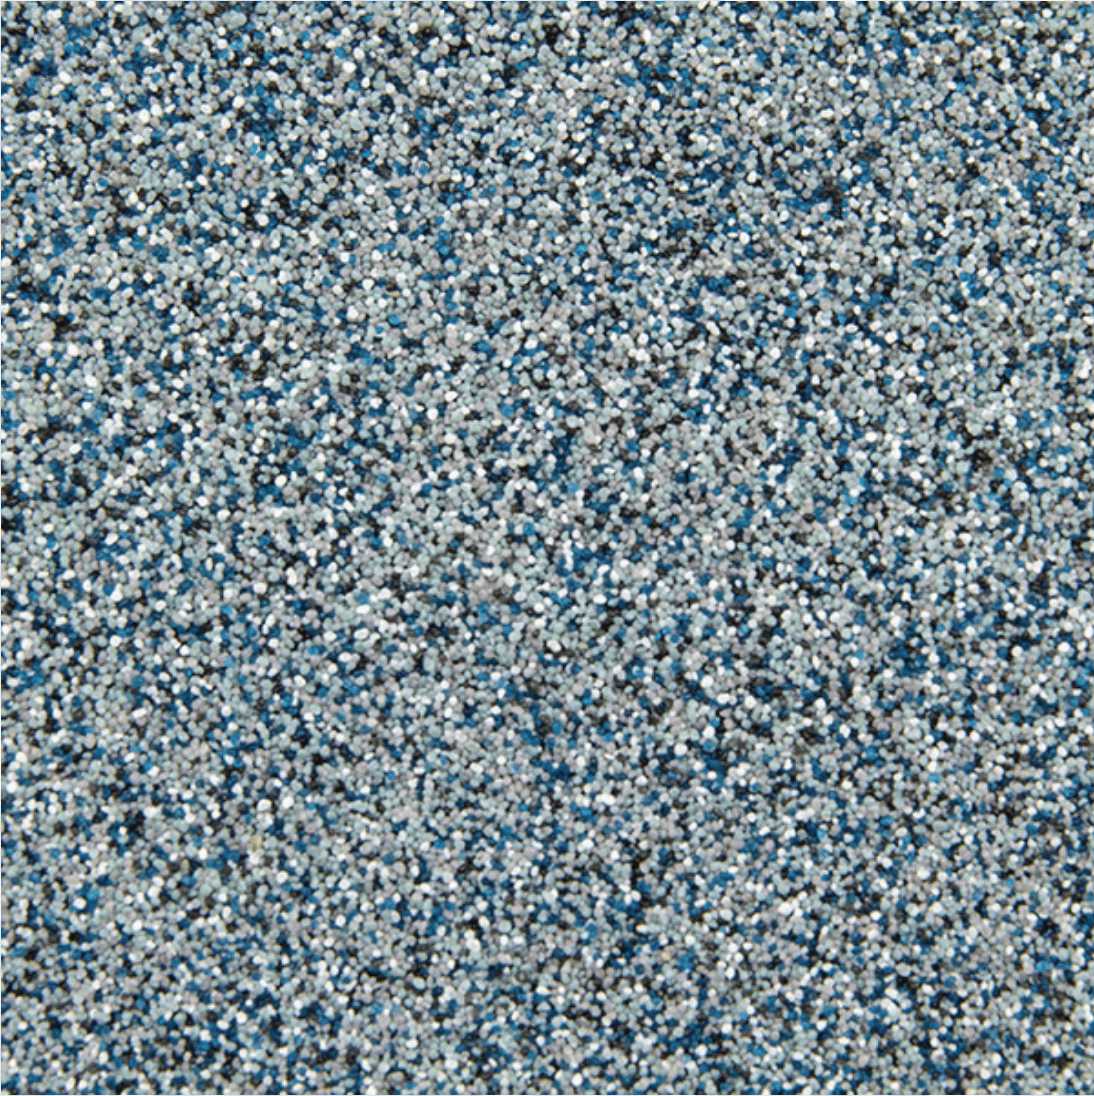
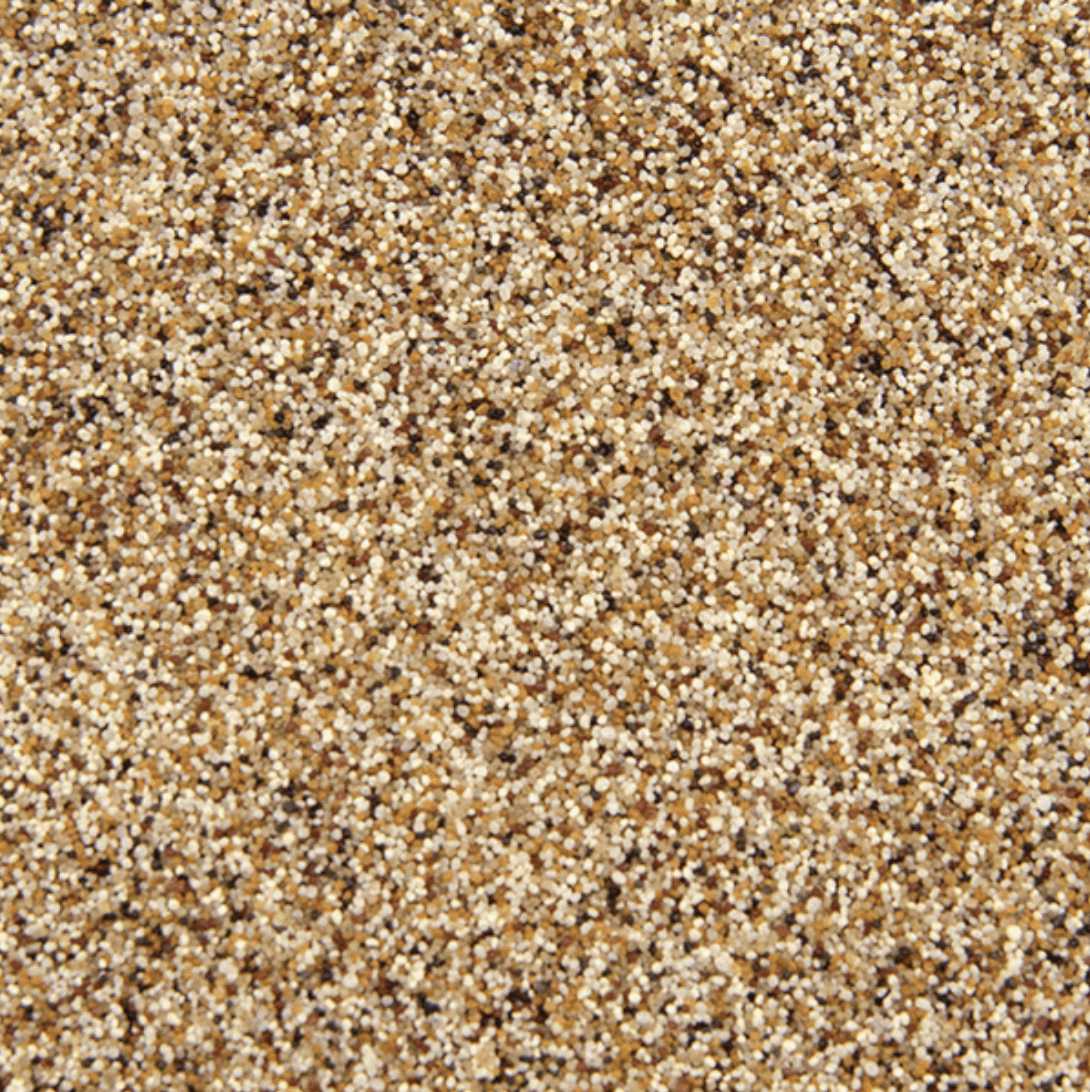
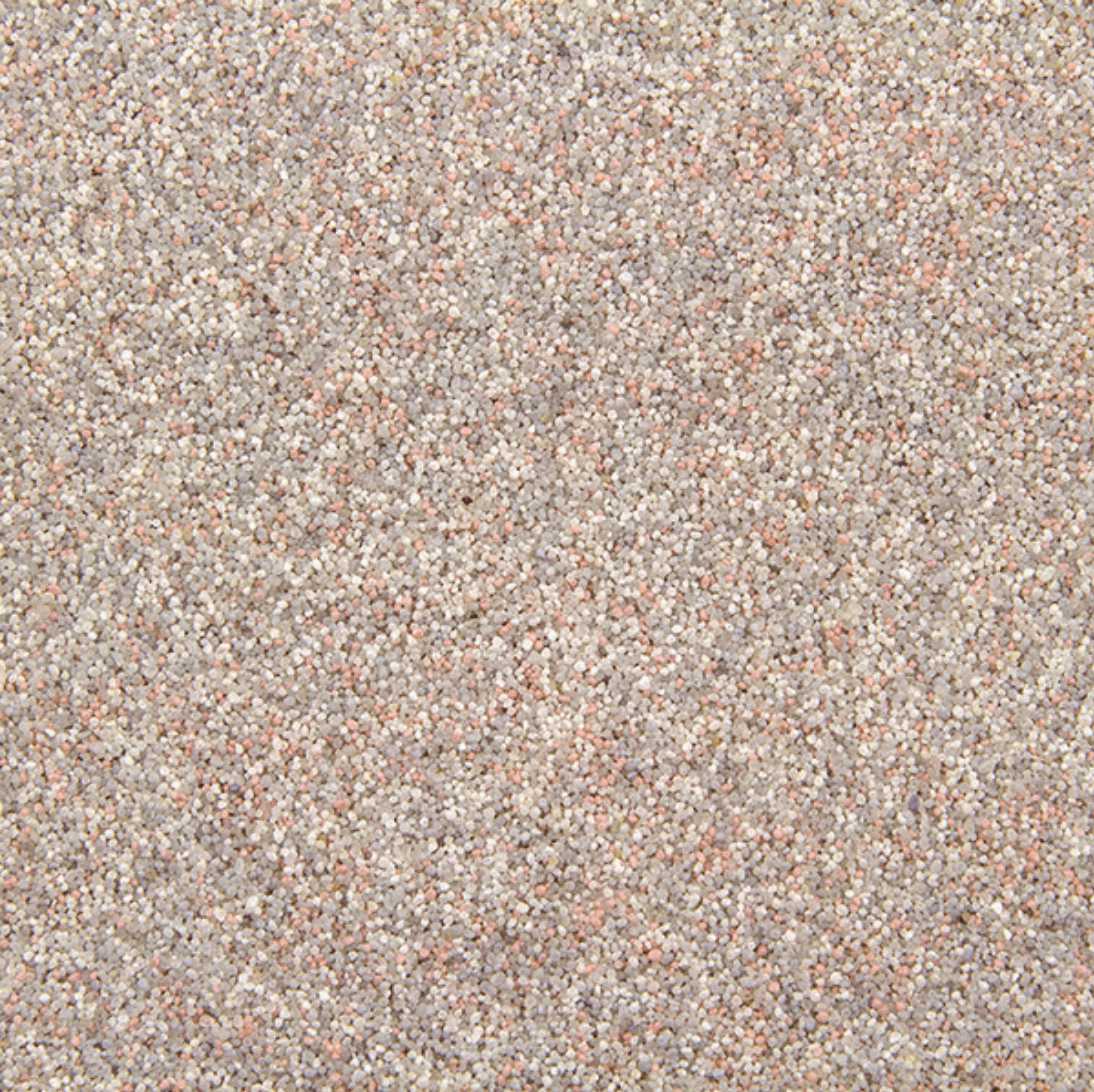
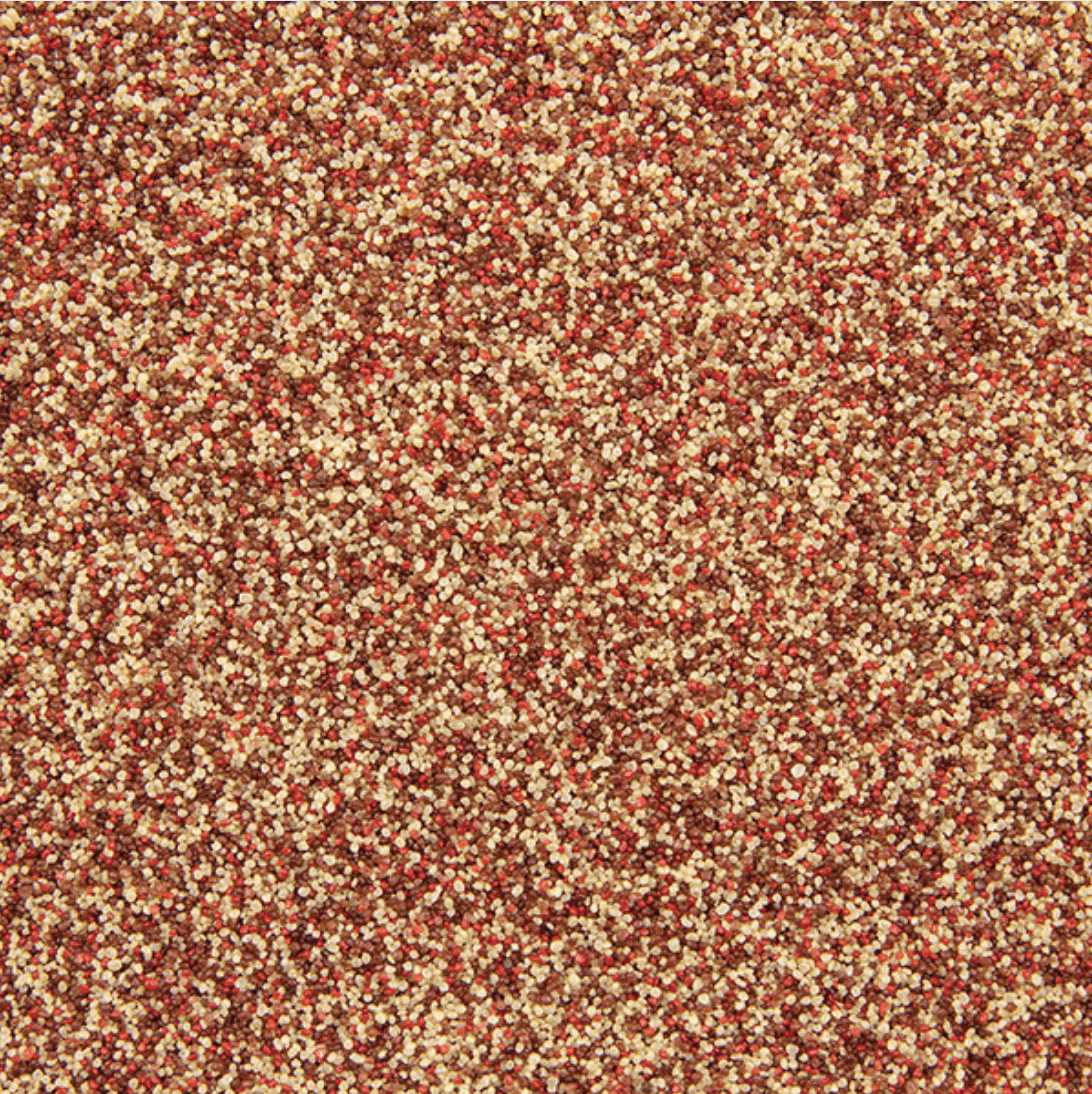
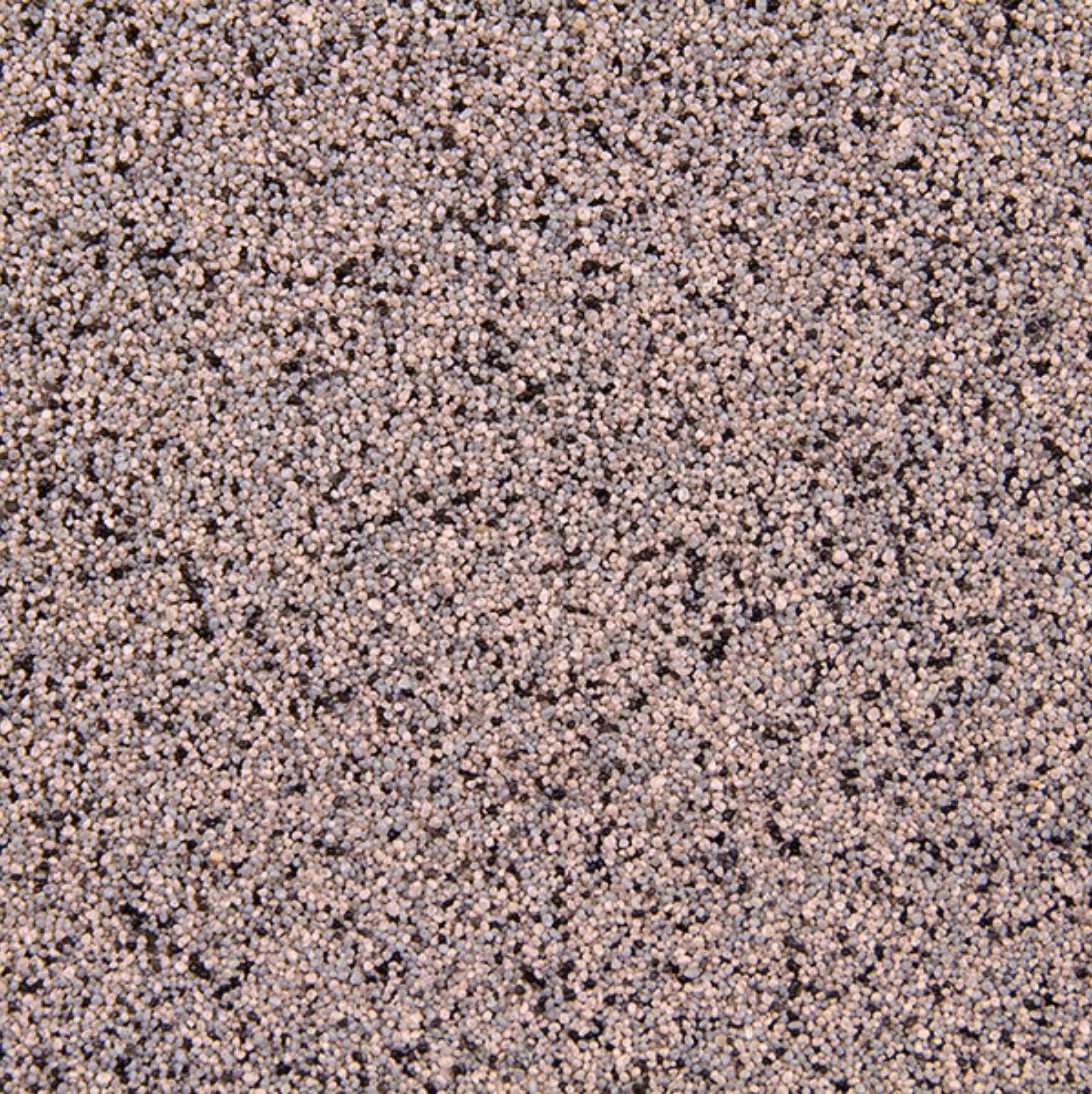

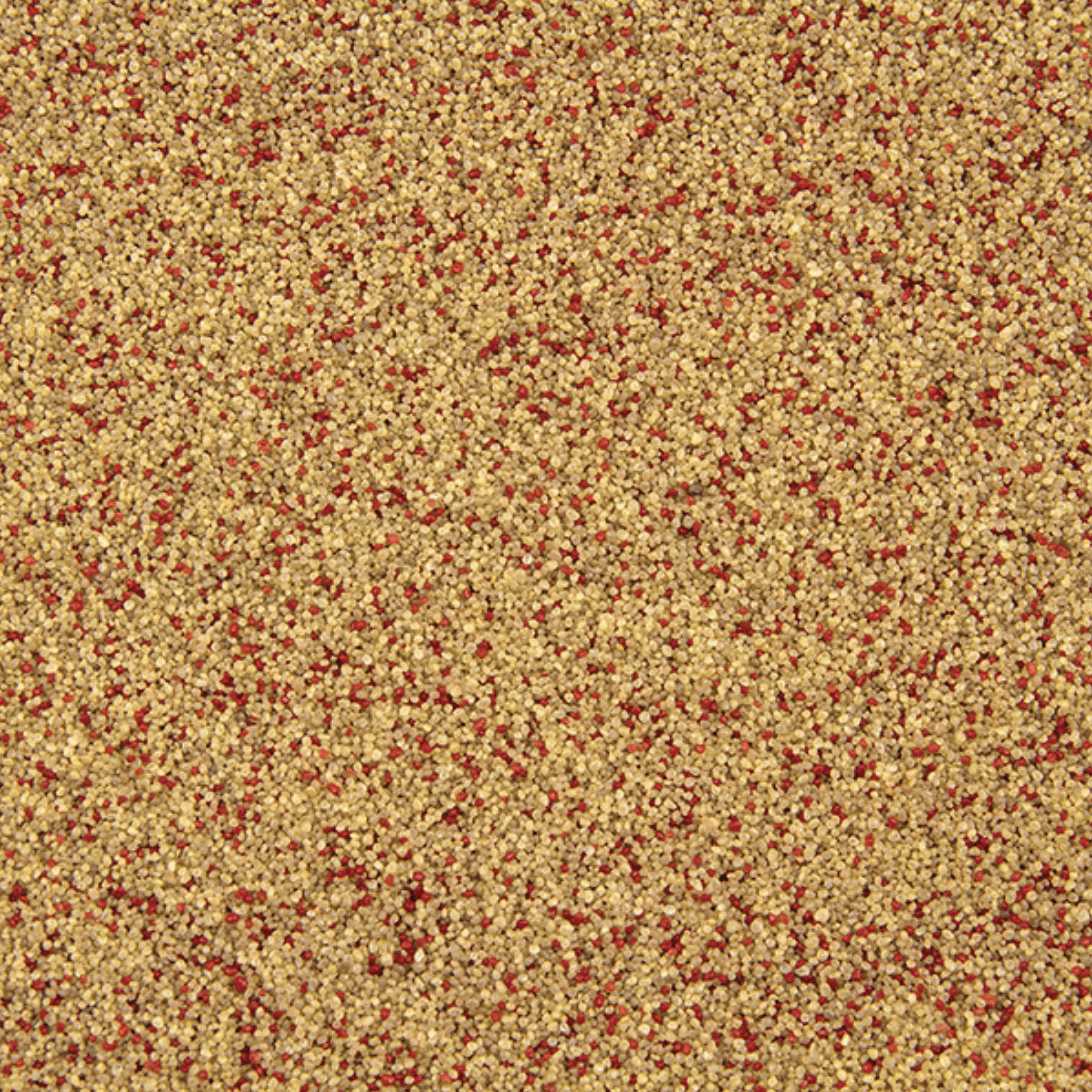
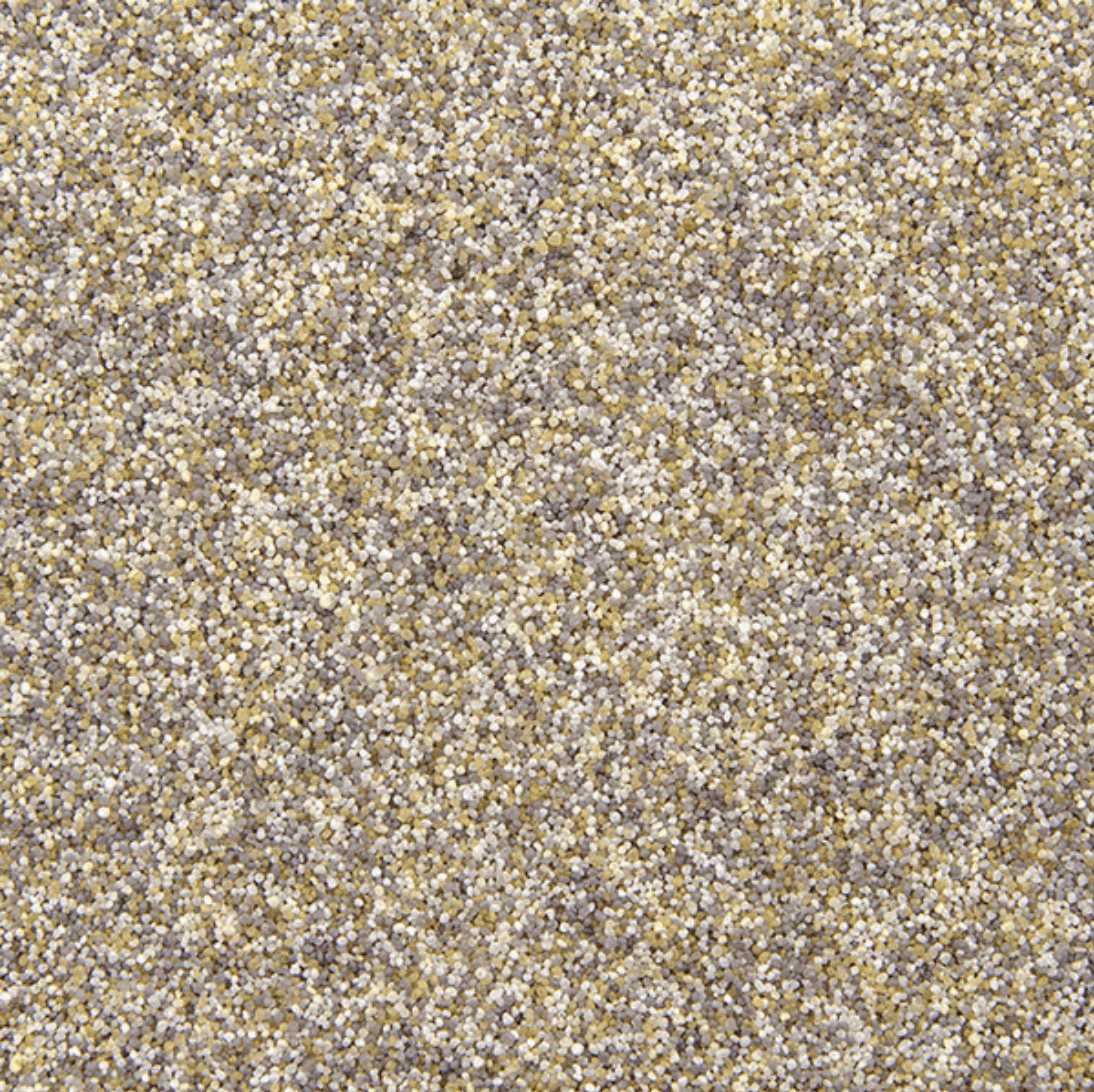
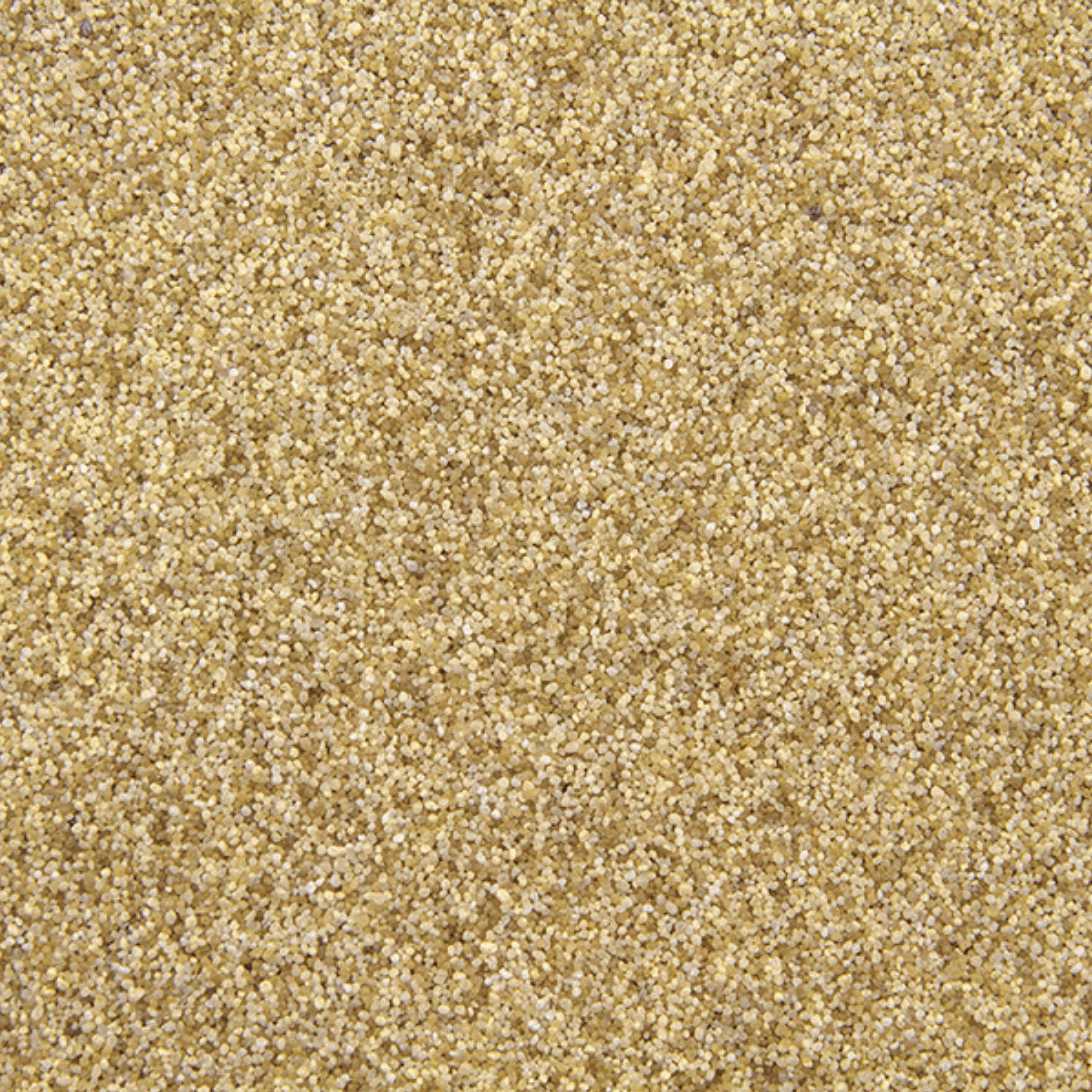
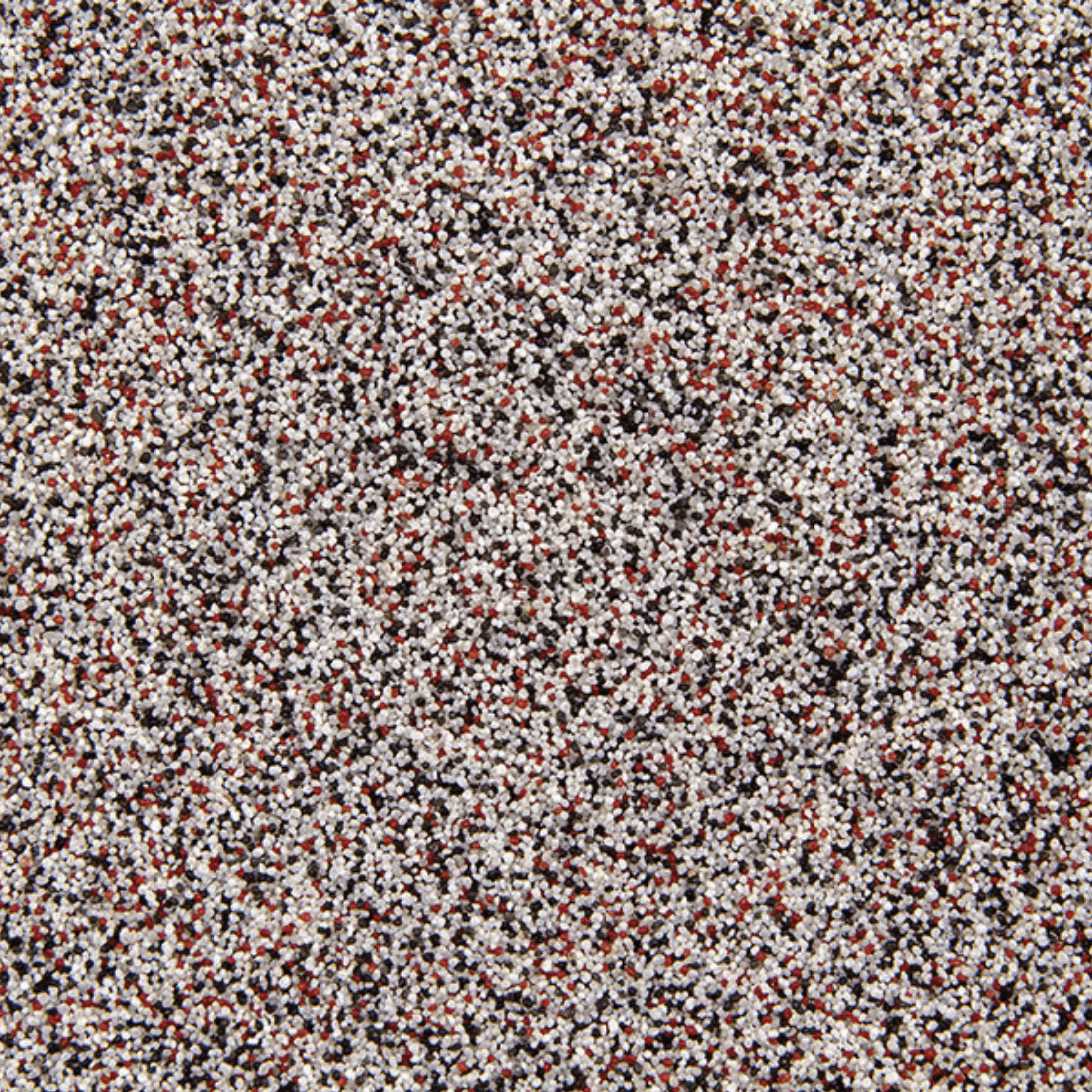
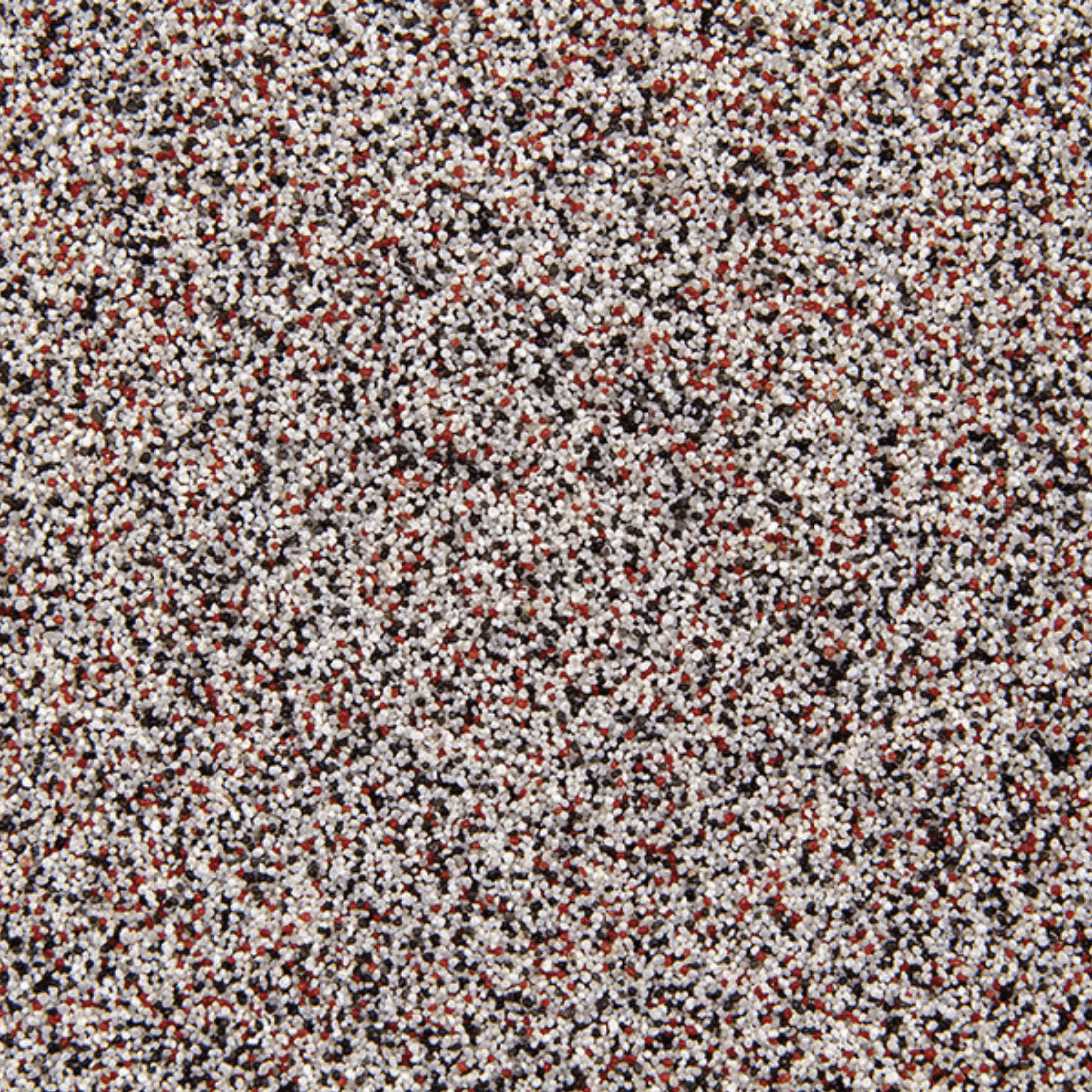
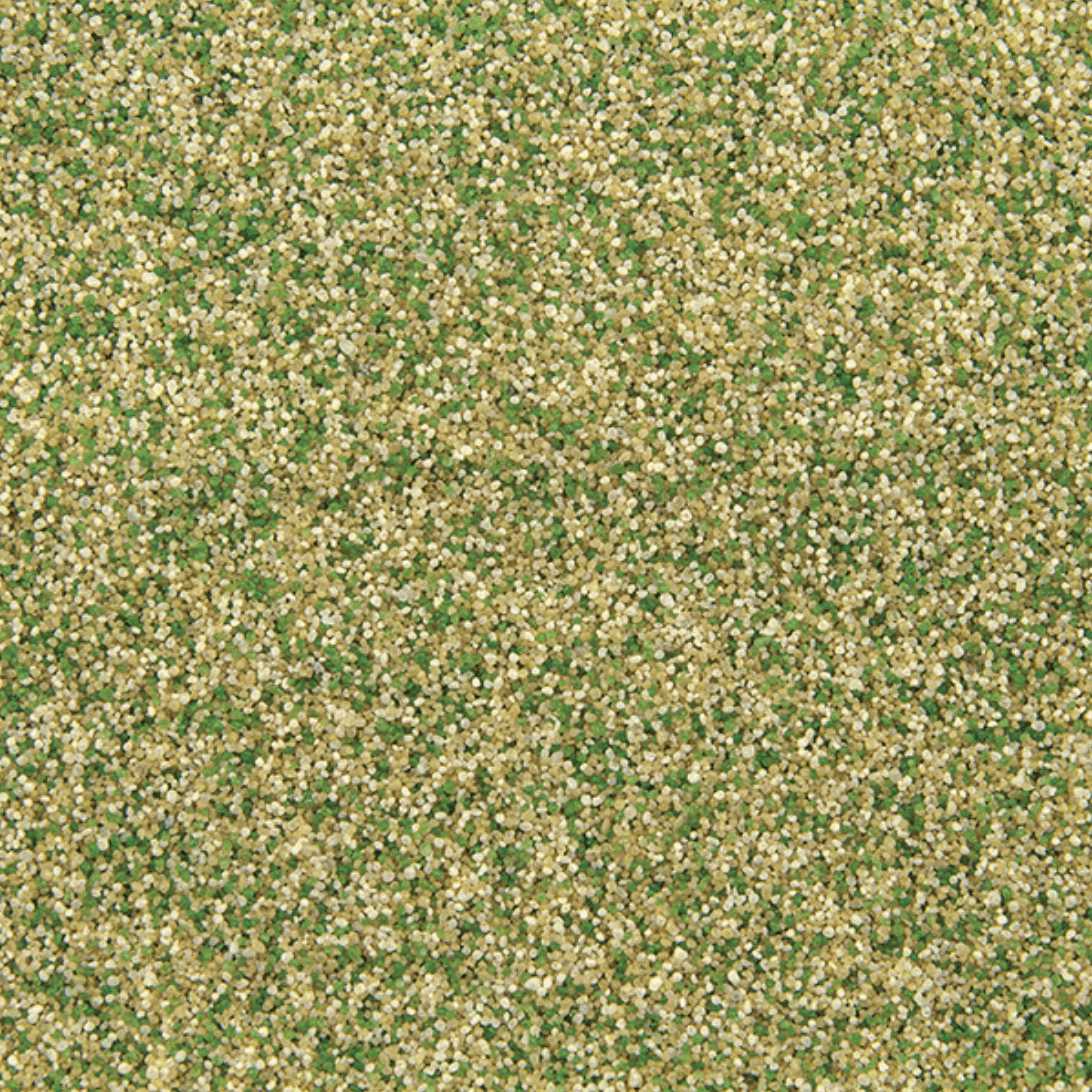
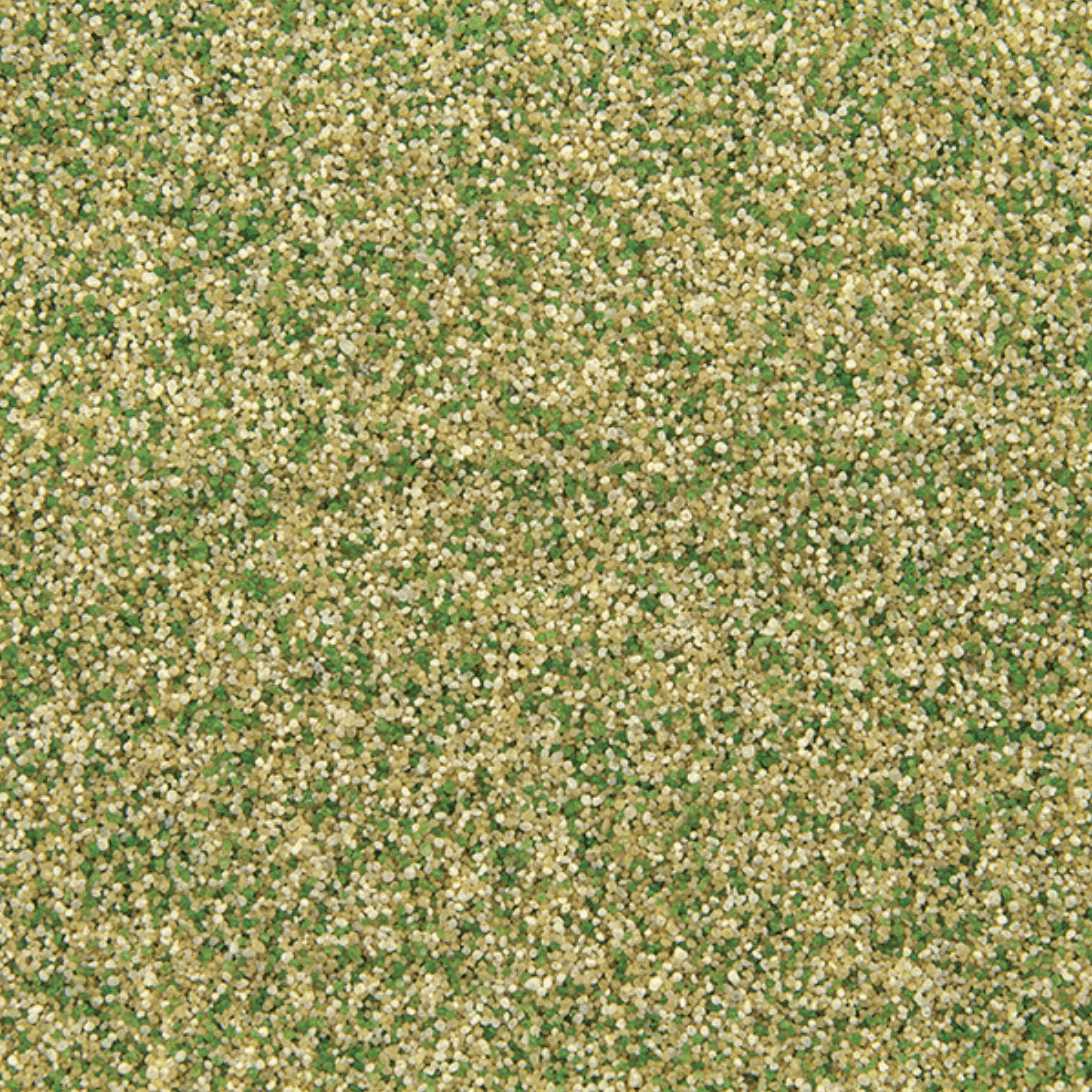
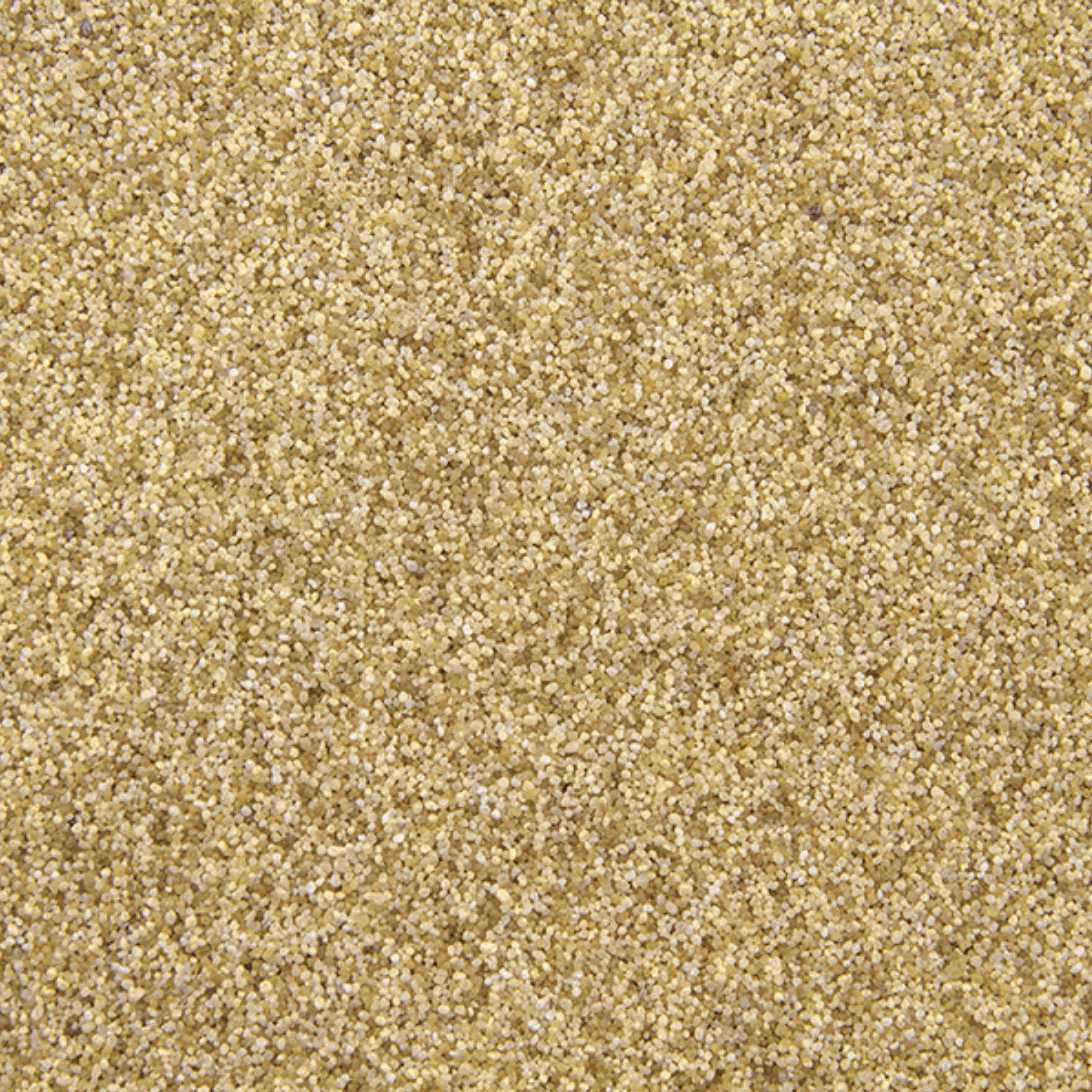
Decorative Quartz Polymer Sands for Epoxy Floors
Ships from Illinois (Click for average Ground delivery map
 )
)
Shipping: This Product can take 5 to 10 business days to ship out.
 Ships via FedEx/UPS only
Decorative Quartz Polymer Sands for Epoxy Floors
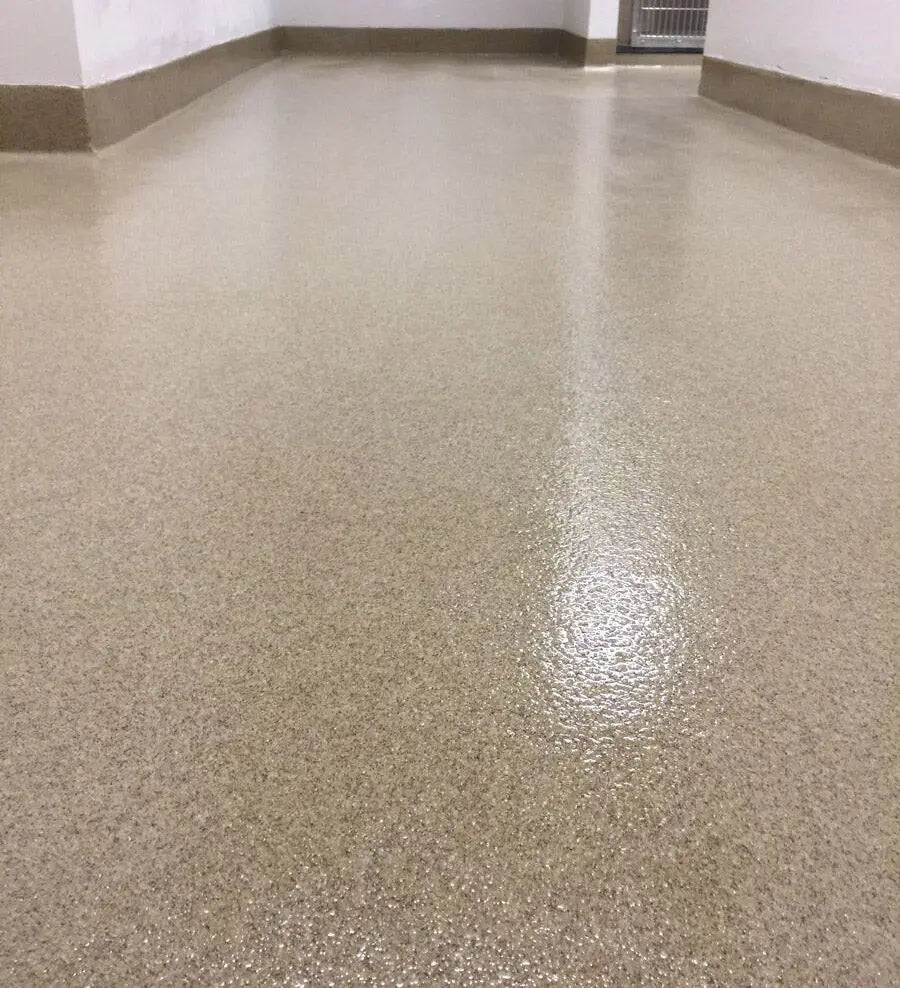
Polymerized Quartz Sand blends are typically used in a decorative flooring system consisting of a moisture vapor tolerant primer/basecoat (sold here), and then the colored Quartz Sands are broadcast layer into wet Epoxy (sold here), and a durable topcoat finish such as AU 85 (sold here) placed over the top.
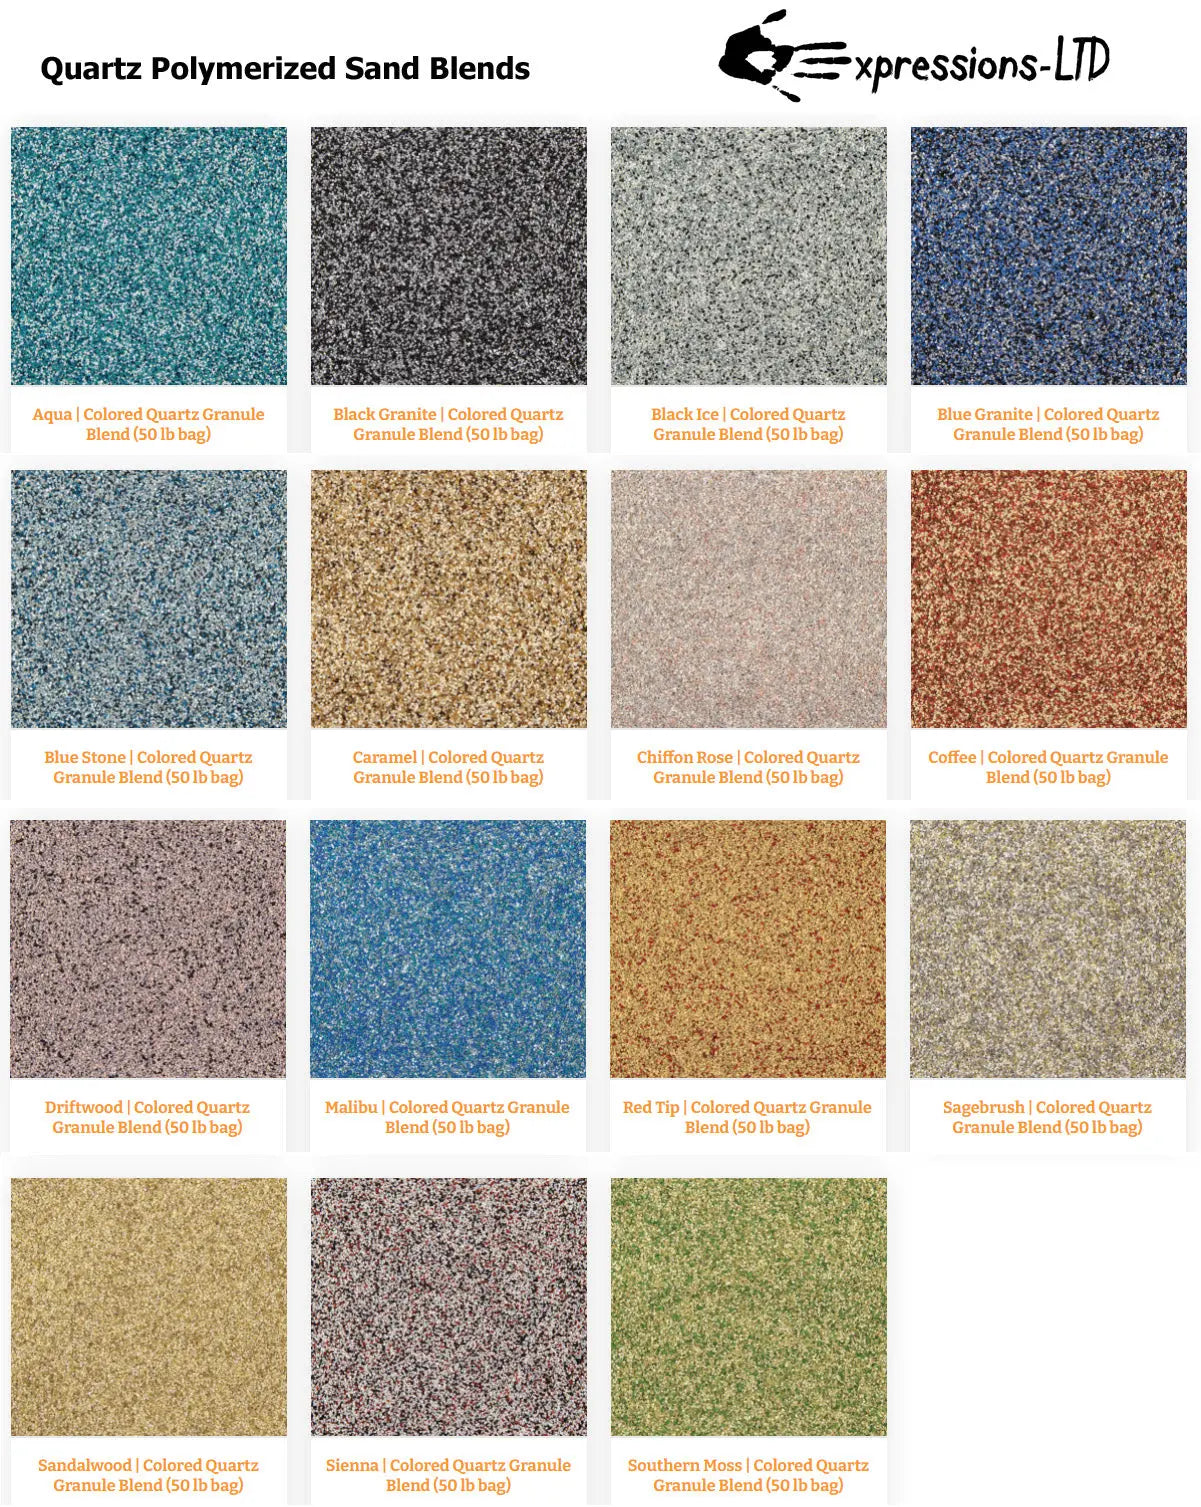
This durable quartz system provides heavy-duty protection on a floor that is just as striking as it is strong. The Quartz Sand Blends are available in a variety of colors to complement any environment. Most colors are also UV-resistant allowing them for outdoor use as well as indoors. The finished floors are very nonporous and are low skid. They also provide great dirt and chemical protection. Quartz can also be combined with other media such as Vinyl Chips (sold here) for a unique look.
Typical applications include laboratories, locker rooms, bathrooms, high-end residential, foyers, healthcare facilities, vet clinics, and similar institutions.
Coverage: Sold in 50 lb bags. Coverage will vary depending on application style, but in general, expect 1 lb per square foot.
Please Note: Coverage rates vary depending on customer preferences and application techniques. We cannot guarantee coverage rates of broadcast media due to many variables. Order extra if in doubt.
General Overview for Using Colored Quartz on Flooring:
Using decorative quartz with epoxy or similar resin will create a very durable, highly-attractive surface in many locations. It is a multi-step process, and it can vary a bit from installer to installer, but the end results are worth it. Quartz flooring is a seamless decorative resin flooring system consisting of clear or colored, 100% solids epoxy resin (or similar resin) into which you broadcast the graded, polymer coated quartz sands into.
PART 1 - PREP.
The #1 reason epoxy floors have issues later is prep work wasn't done right. You want to roughen up the concrete. The epoxy will fill it in, so rough is good and ensures a good bond. A light acid wash is not enough!! You want your new floor to be bullet proof, so do the little extra work and do it right. Rent a floor grinder and roughen up the floor with a good 50-100 grit. Cleaning is essential to remove any oil, grease, dirt, drywall mud, etc. Pressure washing and a good Cleaner Degreaser after sanding/profiling.
PART 2 - PRIMER.
ESSENTIAL PRIMER epoxy should be used on the concrete if it's got any chance of moisture coming up into the concrete, and if the prepared floor is extremely porous or shows much surface defect, you should consider applying a pure primer coat before your initial broadcast coat. This will ensure maximum adhesion to the prepared substrate. Priming will also help to seal air in the concrete to prevent outgassing in the finished surface. Before using any epoxy product, a good rule is to first mix separately both A and B parts of the resins material to ensure no separation has occurred. Make sure material has been brought to room temperature as well. For application, mix 2 parts A with 1 part B by volume with a low speed mixer for three minutes. Mix only an amount of material that can be spread in 30 minutes. Once mixed, immediately begin pouring the material onto the floor in long, usable ribbons. Do not let mixed material sit in the mixing container longer than 5 minutes or it may begin to gel and need to be thrown out. Spread the material with a notched squeegee (1/8 inch at most) until all is even and then backroll with a proper roller to remove any squeegee lines. For a primer coat, you want coverage of approximately 200-300 sq ft per gallon. Let sit for 6 to 24 hrs before proceeding to the next step. Walk on floor only using spiked sandals.
Part 3 – Application of Broadcast Coat
After the surface is prepared/primed, apply the 100% solid EPOXY HP. Mix 2 parts A with 1 part B by volume with a low speed mixer for three minutes. If using an optional base color, blend in part A for at least one minute prior to combining A and B. Mix only an amount of material that can be spread in 30 minutes. Once mixed, immediately begin pouring the material onto the floor in long usable ribbons. Do not let mixed material sit in the mixing container longer than 5 minutes or it may begin to gel and need to be thrown out. Using a notched squeegee spread the material evenly until proper thickness. Then backroll with proper roller until all is even. Allow epoxy coating to sit for 10 minutes, and then start Broadcasting the quartz to refusal (cover everything) at a rate of 0.5 lb to 1 lb per sq ft. The floor should look dry when complete. Let floor it for 12-14 hrs. Vacuum all loose quartz away.
Part 4 (Optional Second Broadcast)
Application of Second Broadcast Coat Epoxy HP and then another full broadcast of quartz. This will give a floor of 1/8 to 3/16 thick when complete. If your floor looks even and you do not want the double layer, jump to part 5.
Part 5 – Topcoat
Using a high-quality topcoat such as AU85 (Aliphatic Urethane) will lock the quartz into place reduce porosity and provide a smooth, easy-to-clean finish. First, remove any loose quartz from the surface. Mix up the proper amount of chosen topcoat resin system and pour onto surface. If looking to retain the heavy traction the quartz will provide, spread the material with a flat squeegee to get a thinner coating. Move material around until thoroughly spread. Using a 3/8 nap roller, backroll the material until even and free from any marks. For a thicker topcoat that will reduce the quartz profile, spread the material with a notched squeegee, then backroll.
Floor can be walked on in 24 hrs. Avoid any heavy furniture, or parking cars on it, for at least 3 days but can take up to 7 days for full cure.


